How to Create Signatures in Outlook 365: A Step-by-Step Guide
Creating a professional email signature in Outlook 365 is crucial for effective brand representation and communication. This guide provides a clear
Sophie Grant
Email Signature Specialist, Scribe
Introduction
Creating a professional email signature in Outlook 365 is crucial for effective brand representation and communication. This guide provides a clear, step-by-step approach to creating signatures that effectively reflect the organization’s identity and values.
Navigating the myriad of formatting options and compliance requirements can be challenging for users, making it essential to ensure that signatures are both visually appealing and compliant with regulations like GDPR and CCPA.
Prepare Your Outlook 365 Environment for Signature Creation
To learn how to create signatures in Outlook 365, follow these essential steps for effective email management.
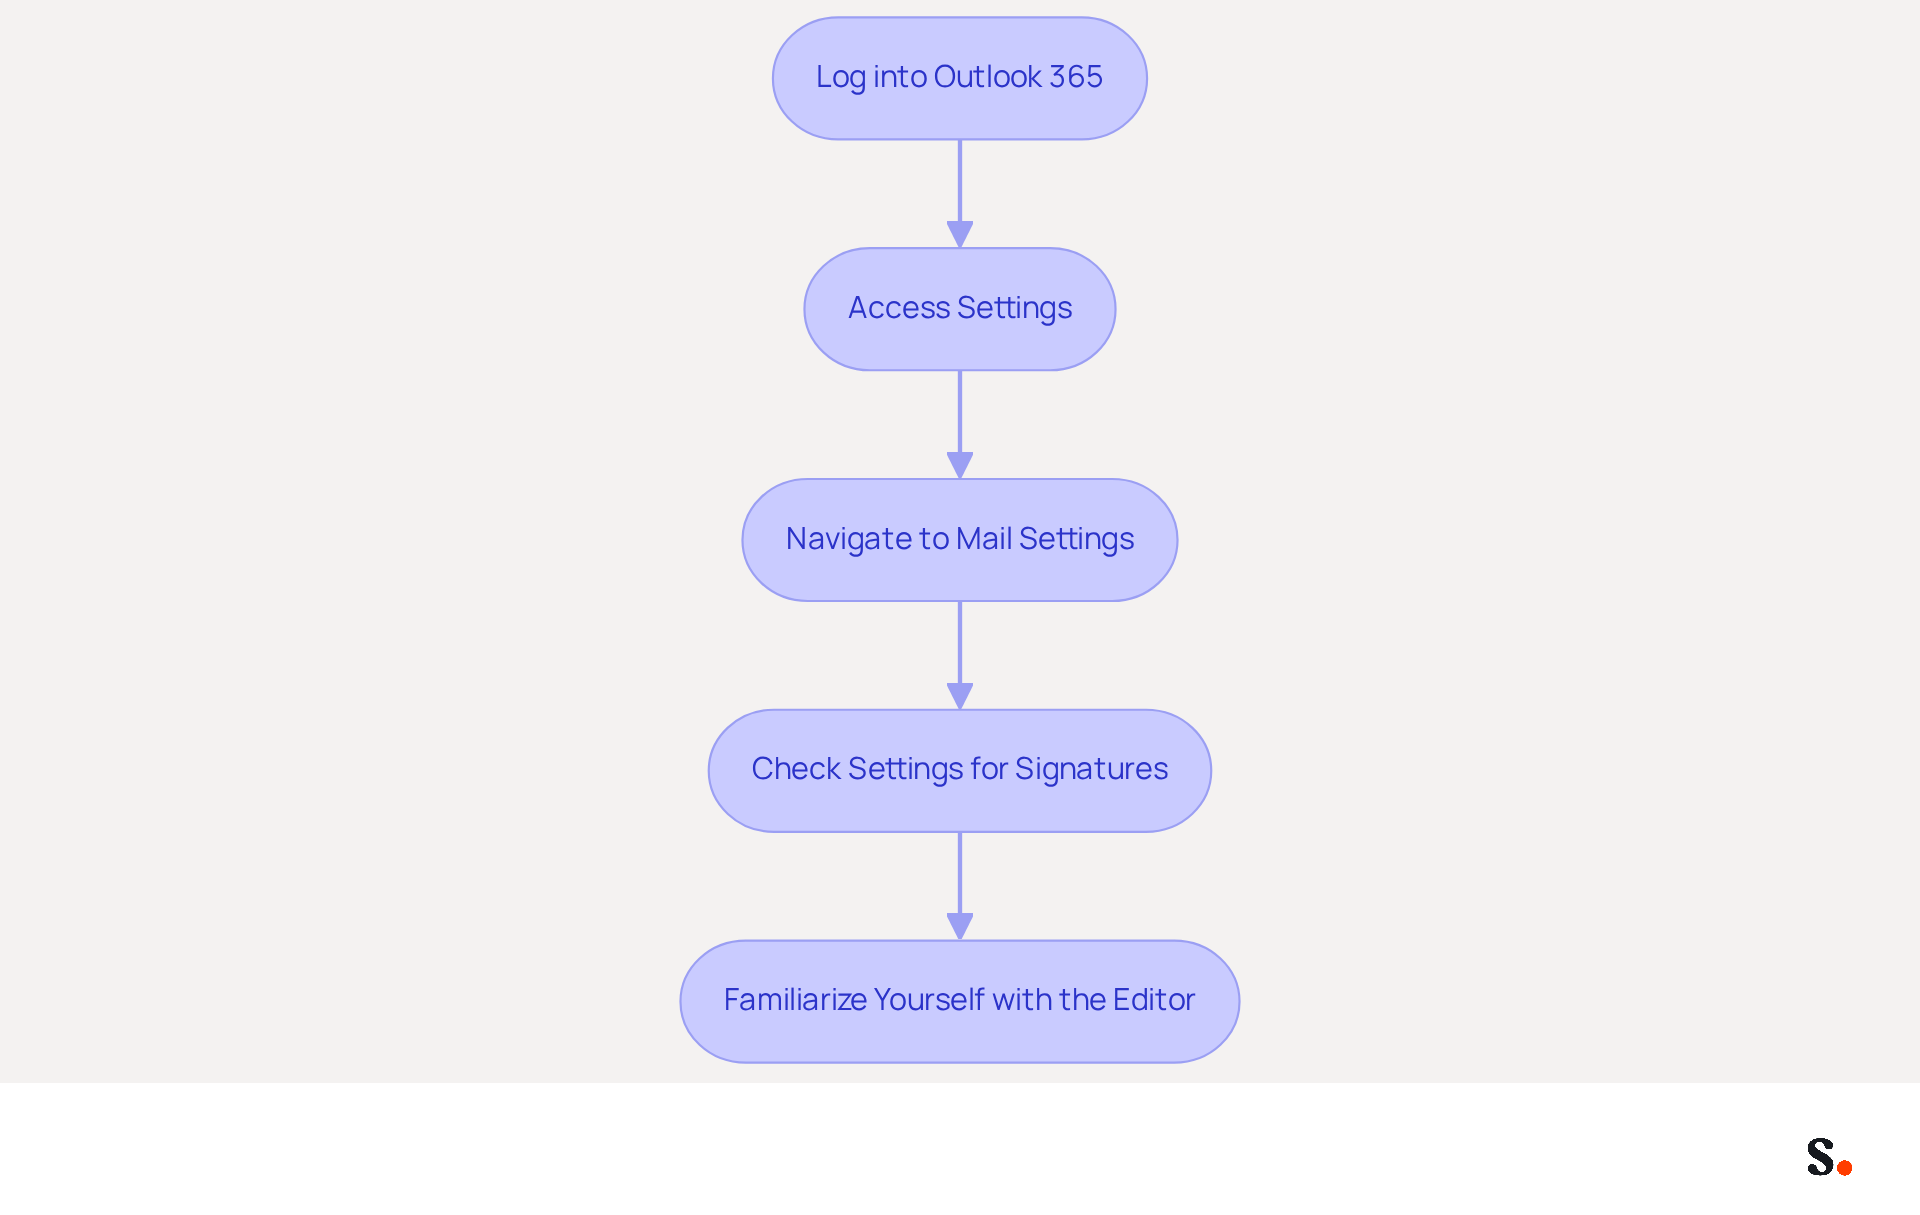
- Log into Outlook 365: Begin by opening your web browser and navigating to the Outlook 365 login page. Enter your credentials to access your account.
- Access Settings: Click on the gear icon (⚙️) located in the top right corner of the Outlook interface to open the Settings menu.
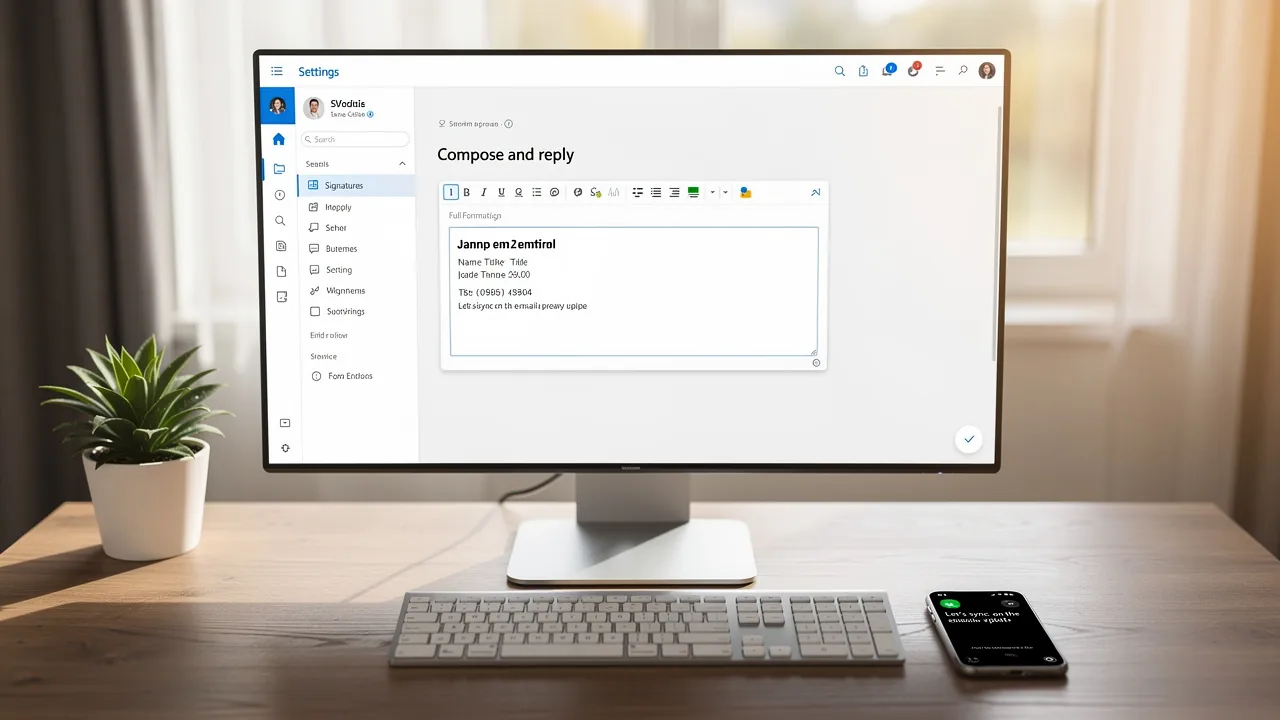
- Navigate to Mail Settings: In the Settings menu, scroll down and select 'View all Outlook settings'. Then, click on 'Mail' and choose 'Compose and reply'.
- Check Settings for Signatures: Confirm that you understand how to create signatures in Outlook 365 and manage them. If you encounter issues accessing signature settings, seek assistance from your IT administrator.
- Familiarize Yourself with the Editor: Take some time to explore the editor interface; it’s essential for formatting text, adding images, and inserting links. Grasping these tools is crucial for crafting an effective mark.
Best Practices for 2026: As you prepare your Outlook 365 environment, remember that messages should be mobile-friendly, visually appealing, and concise. Consistently review and refresh contact details to avoid outdated information, as over 40% of digital identifiers contain critical errors that can adversely affect engagement. Additionally, incorporating a clear call-to-action can enhance effectiveness, potentially leading to a click-through rate of up to 7%.
By integrating Scribe with your messaging system, you automate sign-off synchronization. This ensures real-time updates from your business phone system or Google Workspace. This integration streamlines processes and reinforces brand consistency across communications. Scribe's SOC 2 Type II compliance guarantees that your data is managed securely, ensuring secure management of your email branding.
Create Your Email Signature in Outlook 365
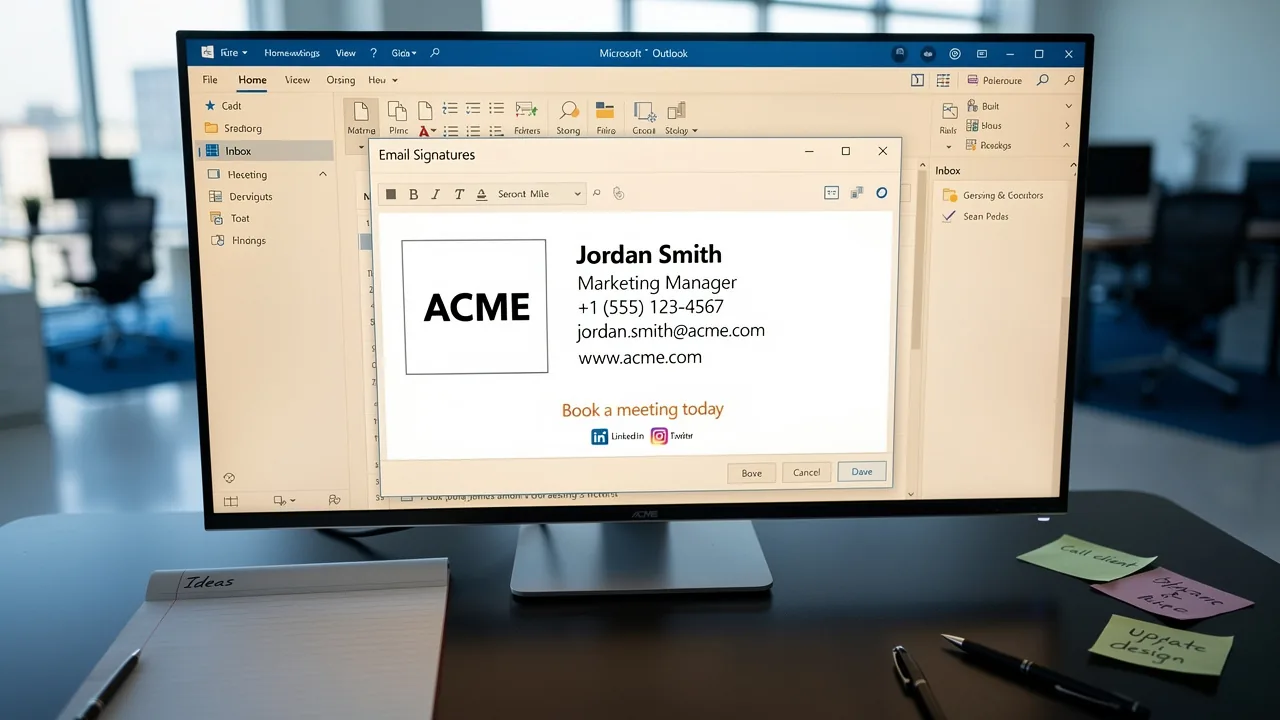
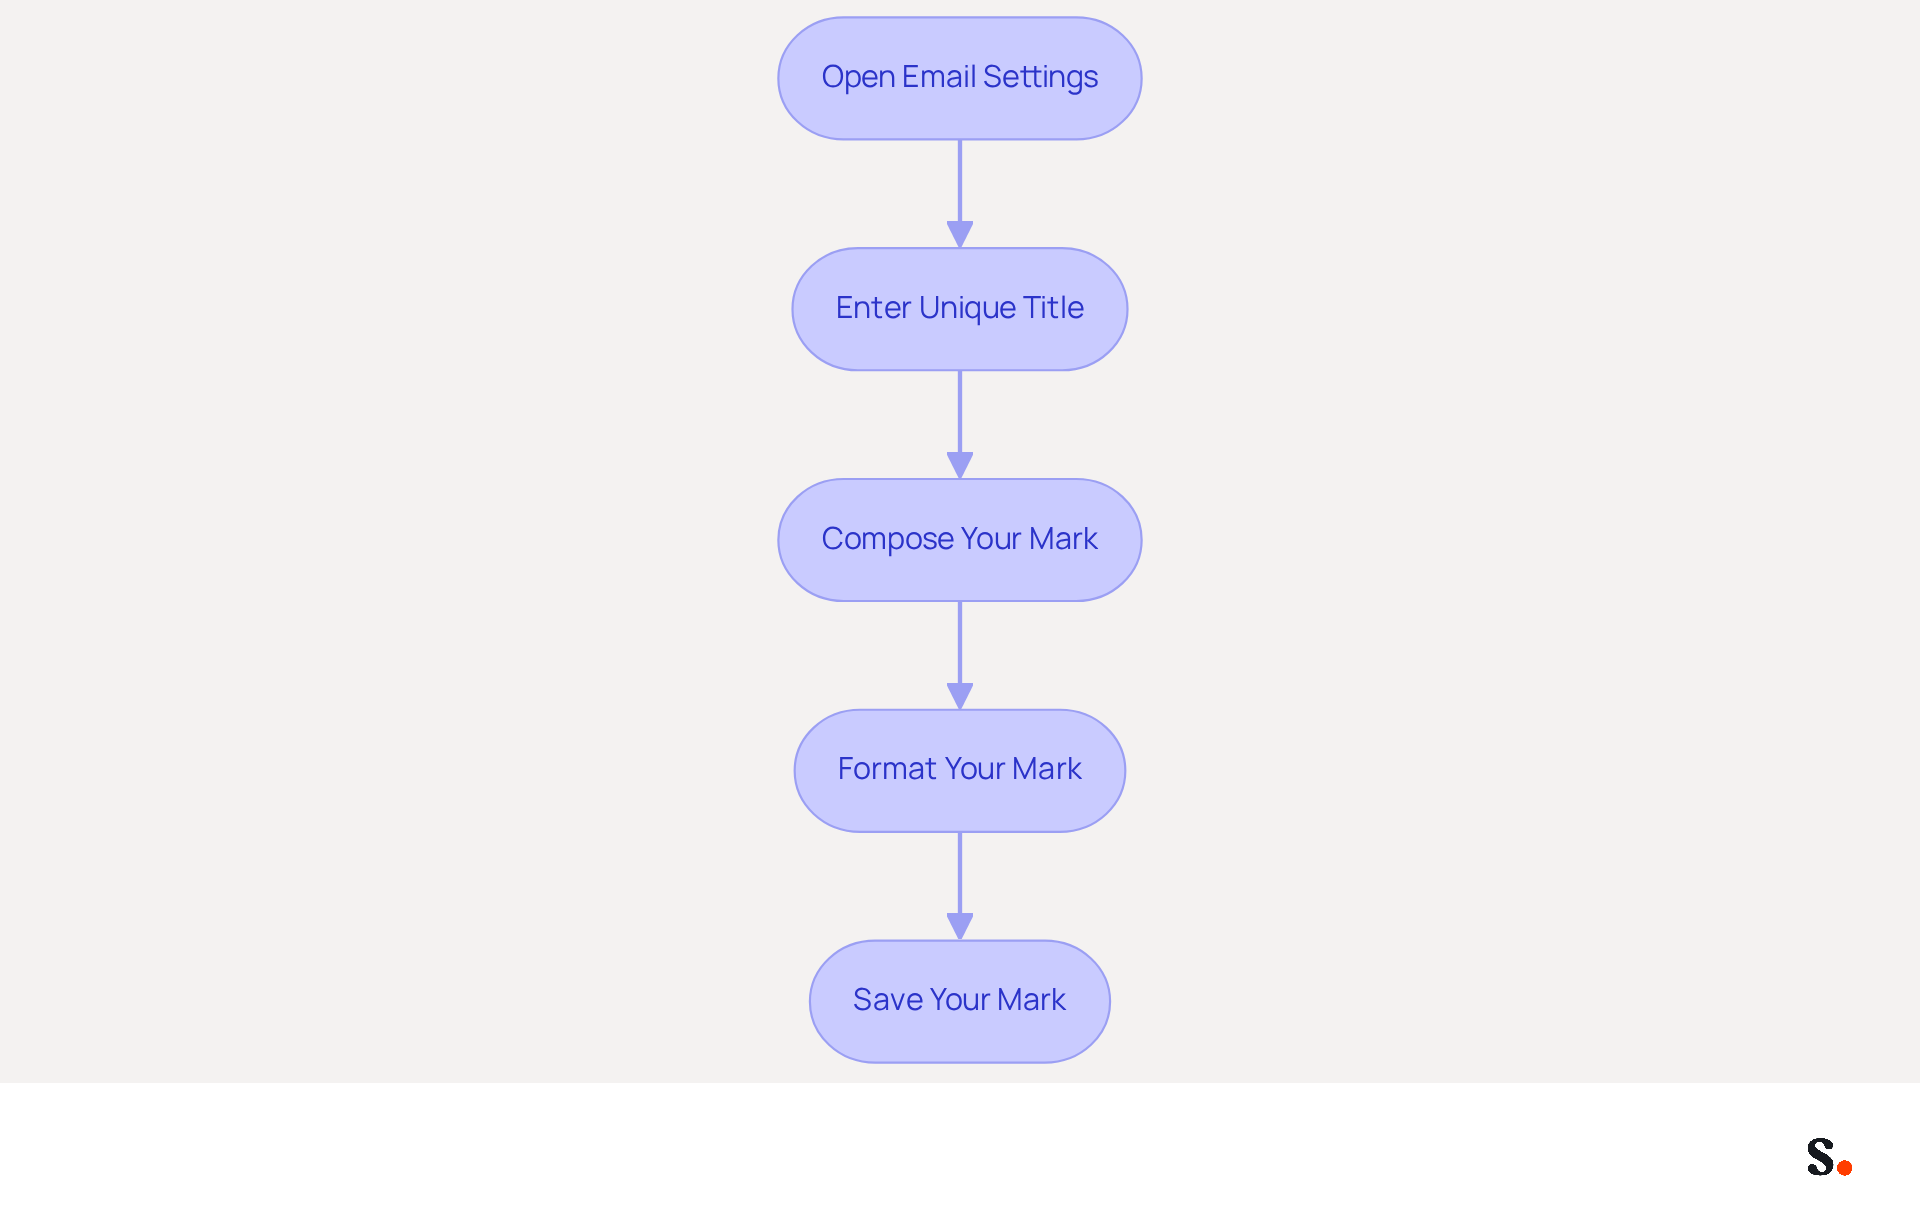
- Open the Email Settings: In the 'Compose and reply' section, locate the 'Email area for signatures' to understand how to create signatures in Outlook 365. Click on the '+ New Mark' button to understand how to create signatures in Outlook 365.
- Enter a unique title for your mark in the provided field. This assists you in recognizing it later, particularly if you want to understand how to create signatures in Outlook 365 for multiple signings.
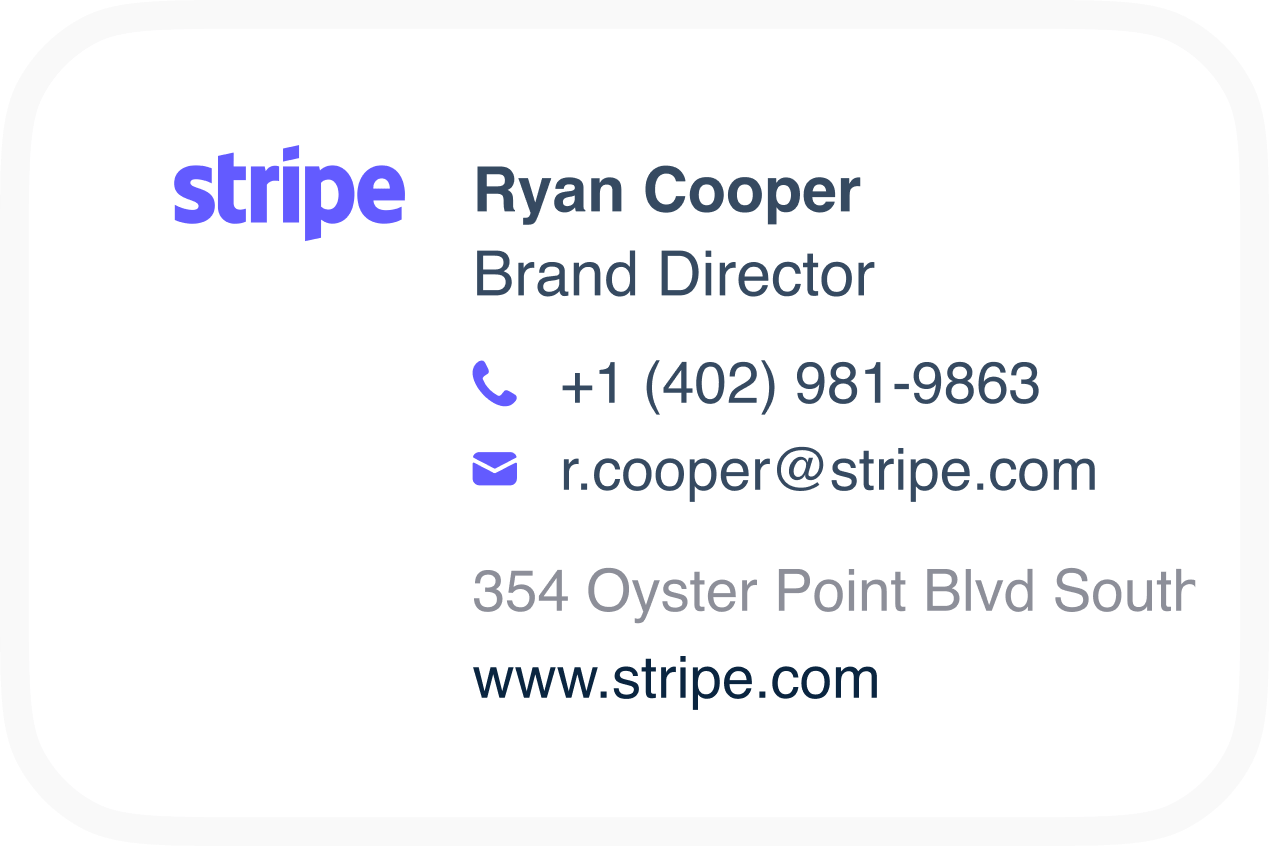
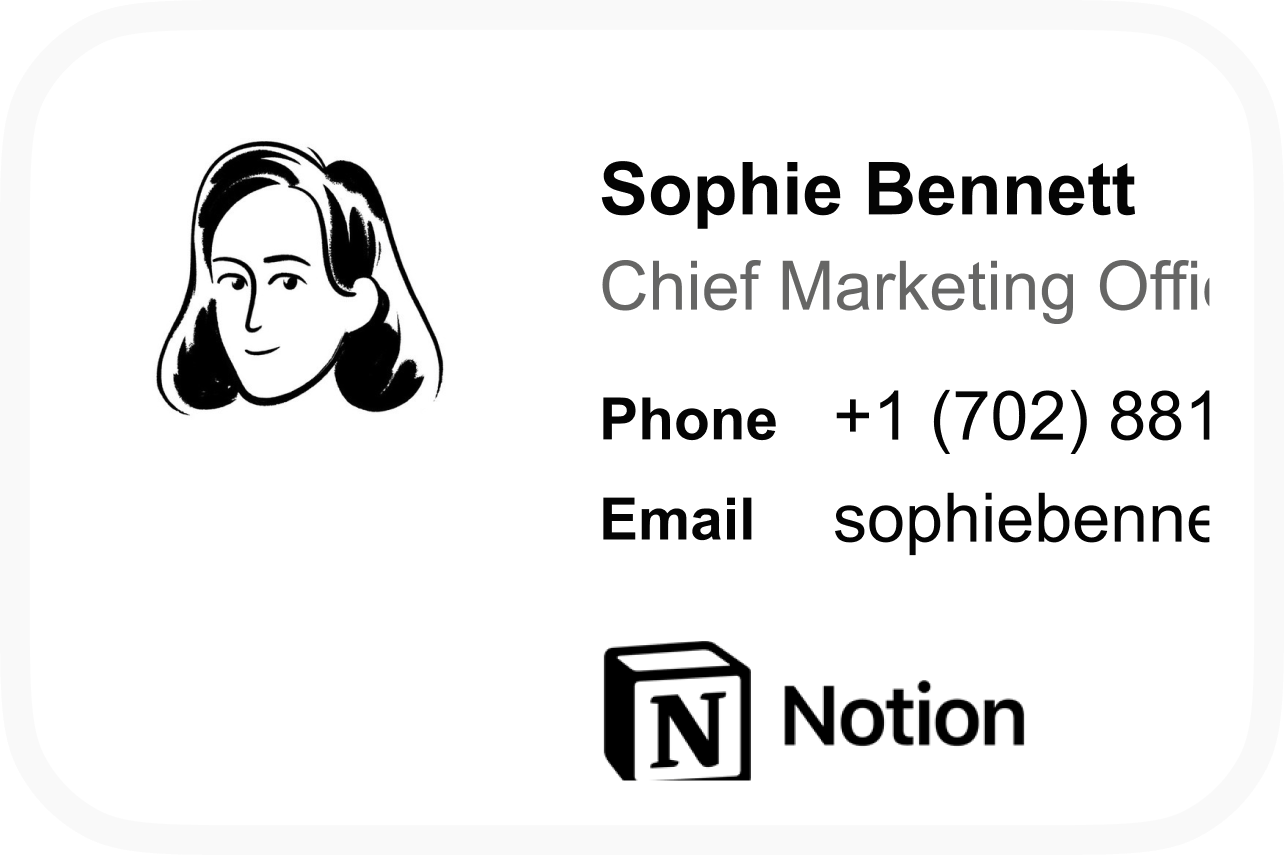
- Compose Your Mark: In the text box, type the information you want to include in your mark, such as how to create signatures in Outlook 365. This typically includes your first name, surname, job title, company name, and contact information. According to 52% of professionals, understanding how to create signatures in Outlook 365 is essential for establishing trust in client interactions. Scribe automates this process, keeping your mark up-to-date with real-time synchronization from your business phone system.
- Format Your Mark: To understand how to create signatures in Outlook 365, use the formatting tools available in the editor to customize the appearance of your mark. When learning how to create signatures in Outlook 365, you can change the font style, size, color, and add links to your social media profiles or company website. Many users, about 75.8%, find that adding social media icons to their emails boosts connectivity and brand visibility. Scribe allows for flexible workspace management, enabling centralized control over approvals across multiple clients and brands.
- Save Your Mark: Once you are satisfied with your mark, click the 'Save' button to store your changes, similar to how to create signatures in Outlook 365. Your mark is now prepared to be utilized in your messages. Many firms struggle to keep their digital identifiers updated, with 31.6% refreshing them only every few years. With Scribe's SOC 2 Type II compliance, you can trust that your data is managed securely, facilitating independent management of your identifiers after the initial IT setup.
Customize Your Signature with Images and Formatting
To ensure a professional email signature, it is essential to understand how to create signatures in Outlook 365, which requires careful attention to detail and strategic planning.
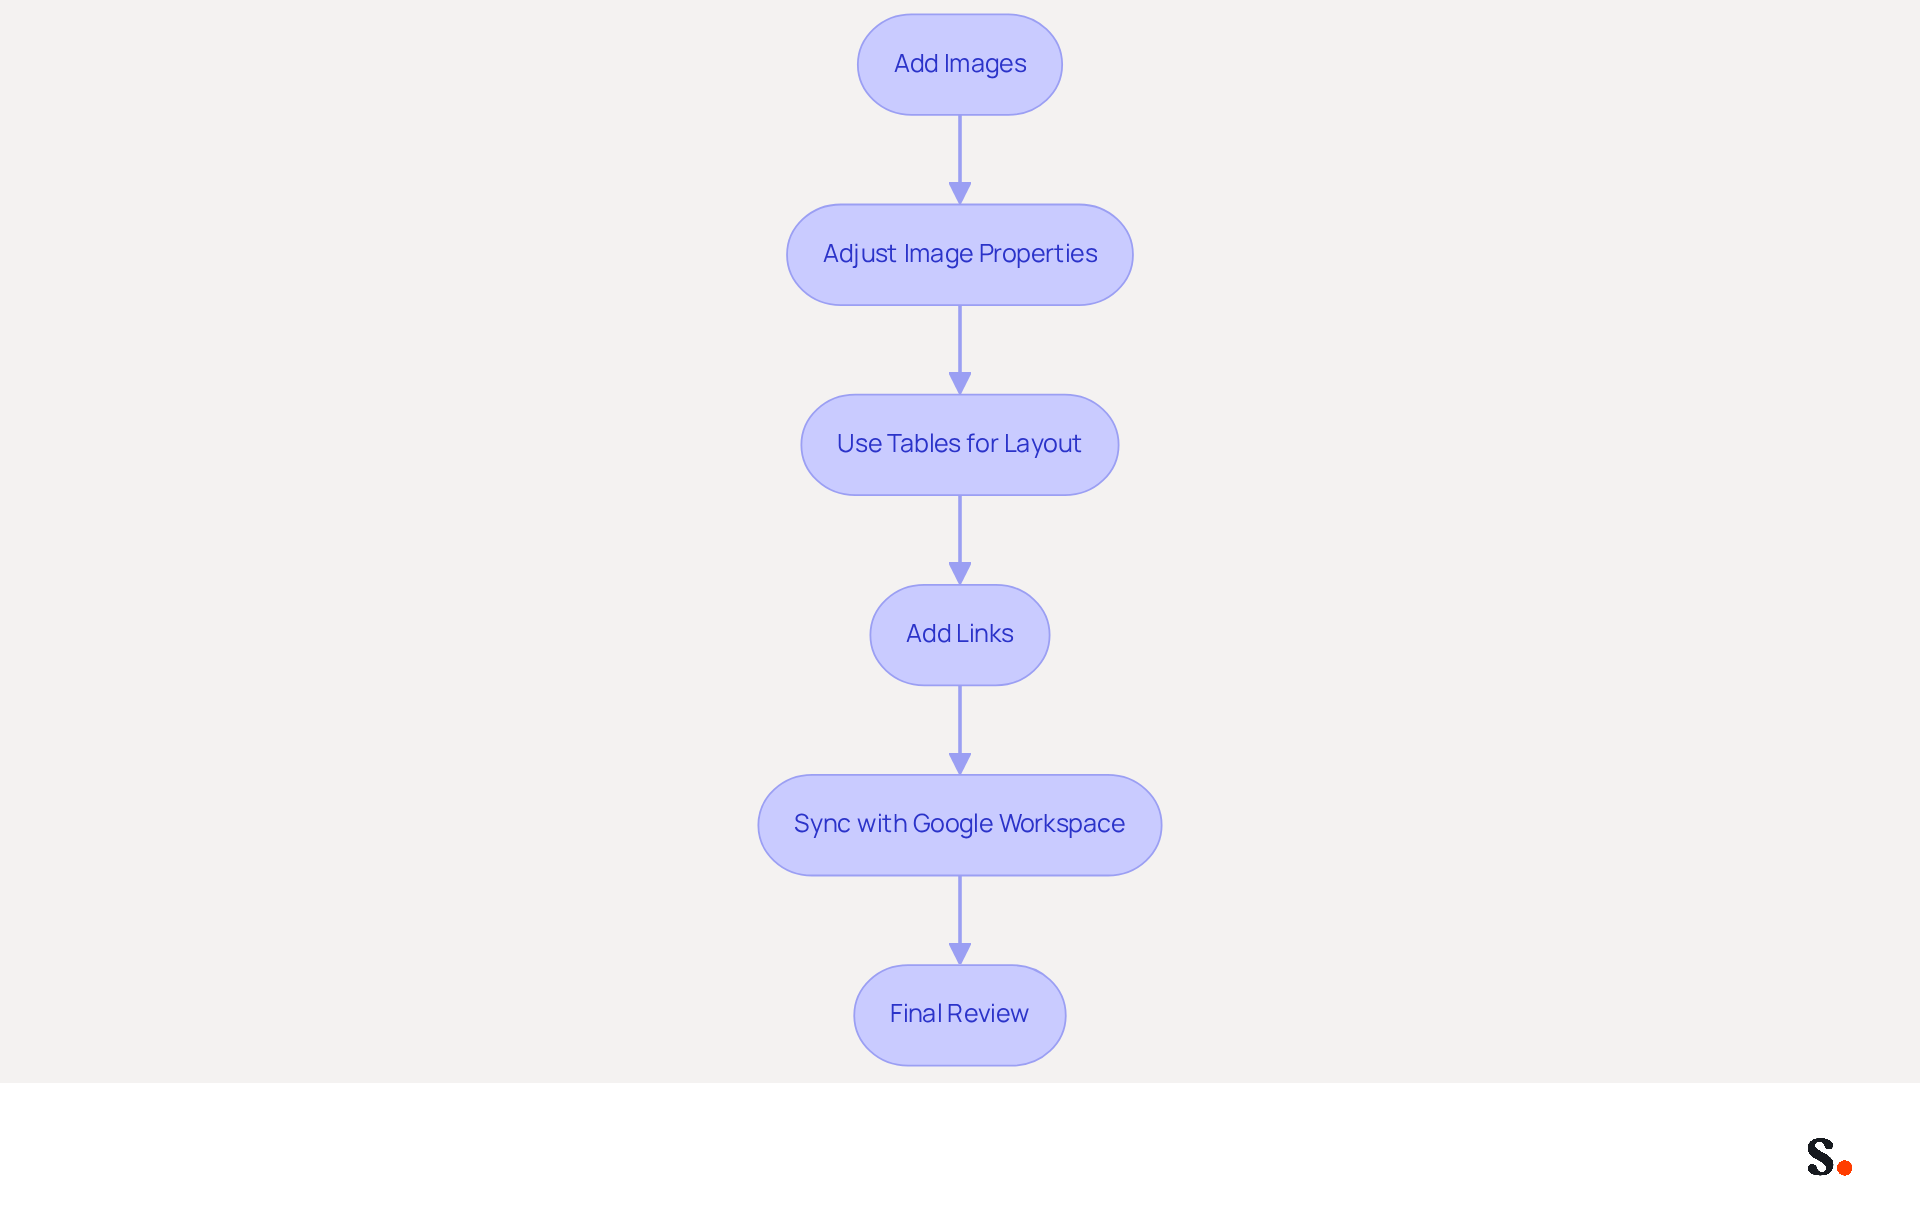
- Add Images: To incorporate a logo or personal photo in your message footer, click on the image icon in the footer editor. Browse your computer to select the desired image file. Ensure the image is optimized for email use, ideally keeping the file size under 50KB for quick loading.
- Adjust Image Properties: After inserting the image, click on it to modify its size or alignment. The image should enhance the text without overpowering the overall design. Recommended dimensions for logos are between 150px and 300px in width to maintain clarity and professionalism.
- Use Tables for Layout: For a well-organized email footer, consider using a table. Inserting a table from the editor allows you to arrange your text and images in separate cells. Using a table can help keep everything organized and easy to read, making your email footer look professional.
- Add Links: To make your Scribe interactive, highlight the text you want to hyperlink, such as your company website or social media profiles. Click on the link icon and enter the URL. This allows recipients to easily access your online presence, which can significantly enhance engagement.
- Sync with Google Workspace: By connecting your Google Workspace to Scribe, you can save time and ensure that your signatures are always up-to-date. Any modifications made to your teammates' information in Google Workspace, such as job position or group assignments, will automatically reflect in the application. This saves time and helps marketing managers concentrate on strategic tasks while ensuring brand consistency in email communications. Additionally, Scribe's auto-fill feature allows for seamless integration of signing information, ensuring accuracy and compliance with GDPR and CCPA regulations.
- Final Review: Before saving your mark, conduct a thorough review to ensure you understand how to create signatures in Outlook 365 and that all elements are correctly formatted and visually appealing. Adjust font sizes to between 11pt and 13pt for names and titles, and ensure that the overall width does not exceed 600px to avoid horizontal scrolling in messaging clients. Furthermore, consider adding an unsubscribe link in marketing correspondence to adhere to privacy regulations such as CAN-SPAM and GDPR. Research shows that a well-designed message footer can significantly increase response rates, underscoring the importance of this final review.
Manage and Set Default Signatures in Outlook 365
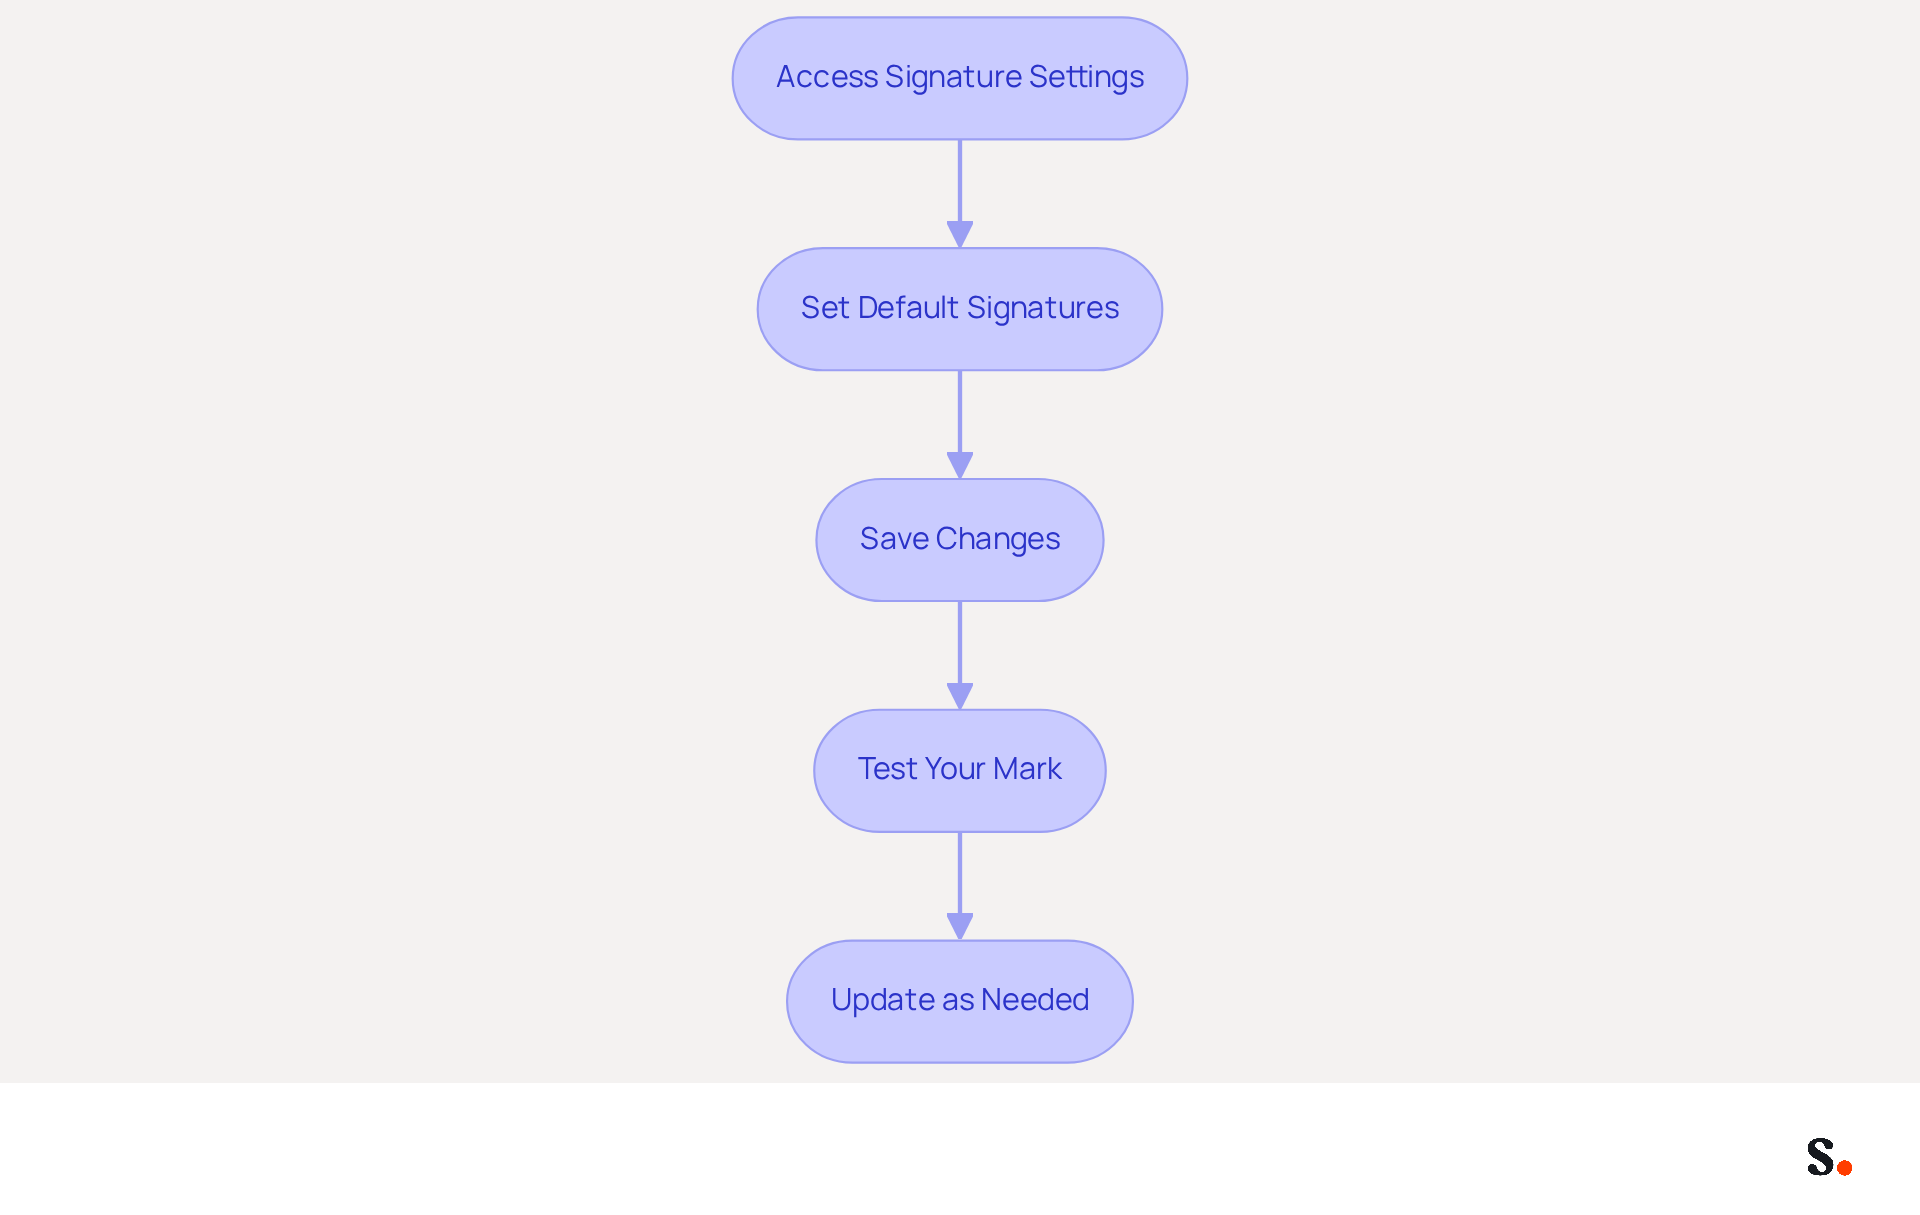
- Access Signature Settings: Managing your email signatures effectively begins with accessing the right settings in Outlook. Navigate to the 'Compose and reply' section within the Outlook settings where your personal sign-off was created.
- Set Default Signatures: In the 'Choose default signature' section, select the email account for which you wish to establish a default identifier, especially if you manage multiple accounts. Assign your newly created identifier for both 'New messages' and 'Replies/forwards' as necessary to ensure consistency across your communications.
- Save Changes: After selecting your default identifiers, click 'Save' to apply these modifications. This means your chosen sign-off will appear in all new messages and replies, making message management easier.
- Test Your Mark: To confirm that your default mark is functioning correctly, compose a new message and check for the mark's appearance. If the mark fails to appear, it may indicate a misconfiguration in your settings.
- Update as Needed: Keep in mind that you can revisit the settings at any time to update or modify your default sign-offs as your branding or contact information changes. Regular updates are essential, as research shows that 44.4% of users update their contact details two to four times annually. With Scribe's automated synchronization, any updates in your connected data sources, such as Google Workspace, will be reflected in your messages without manual input, saving you time and ensuring accuracy.
Case Studies: Many organizations that standardize their email signatures find they gain substantial branding advantages. For example, a firm with 100 staff can produce roughly 60,000-80,000 branded impressions each month, emphasizing the visibility and marketing potential of well-managed digital identifiers. Additionally, 64-70% of respondents believe that a professional branded email signature enhances trust and credibility, reinforcing its importance as a core brand asset.
Conclusion
Creating a professional email signature in Outlook 365 is essential for reinforcing brand visibility and ensuring consistent communication. By following the outlined steps, users can effectively manage their signatures, ensuring they reflect the latest information and branding elements. This process streamlines email management and highlights the significance of a well-crafted digital identifier in building trust and credibility with clients.
Key insights from this guide include:
- The necessity of preparing the Outlook environment
- Utilizing formatting tools for customization
- Managing default signatures for consistency
The integration of Scribe further enhances this process, allowing for real-time updates and compliance with security standards such as SOC 2 Type II, GDPR, and CCPA. With automated signature management, organizations can concentrate on their marketing strategies while ensuring their brand remains consistent across all communications.
In conclusion, investing time in creating and managing email signatures is crucial for any organization aiming for 100% brand consistency and measurable marketing ROI. Embracing tools like Scribe not only simplifies this task but also maximizes the potential for engagement, with statistics showing that a well-designed signature can significantly increase response rates. Ultimately, prioritizing effective email signatures can lead to improved client relationships and a more polished professional image.
Frequently Asked Questions
How do I log into Outlook 365?
To log into Outlook 365, open your web browser and navigate to the Outlook 365 login page. Enter your credentials to access your account.
Where can I find the settings to create an email signature in Outlook 365?
Click on the gear icon (⚙️) in the top right corner of the Outlook interface to open the Settings menu. Then, scroll down and select 'View all Outlook settings', click on 'Mail', and choose 'Compose and reply'.
What should I do if I have issues accessing signature settings in Outlook 365?
If you encounter issues accessing signature settings, seek assistance from your IT administrator.
What should I familiarize myself with when preparing to create a signature in Outlook 365?
Take time to explore the editor interface, as it is essential for formatting text, adding images, and inserting links, which are crucial for crafting an effective signature.
What are some best practices for creating email signatures in Outlook 365 for 2026?
Ensure that messages are mobile-friendly, visually appealing, and concise. Regularly review and refresh contact details to avoid outdated information, and incorporate a clear call-to-action to enhance effectiveness.
How can integrating Scribe with my messaging system benefit my email signatures?
Integrating Scribe automates sign-off synchronization, ensuring real-time updates from your business phone system or Google Workspace, streamlining processes, and reinforcing brand consistency across communications.
Is my data secure when using Scribe for email branding?
Yes, Scribe's SOC 2 Type II compliance guarantees that your data is managed securely, ensuring secure management of your email branding.
List of Sources
- Prepare Your Outlook 365 Environment for Signature Creation
- Email Signature Best Practices for 2026 (+ 15 Pro Examples) (https://wavecnct.com/blogs/email-signature-best-practices-2026)
- Email Signature Best Practices - NEWOLDSTAMP (https://newoldstamp.com/blog/email-signature-best-practices)
- Master Email Signature Templates for Outlook: Key Strategies for Success (https://scribe-mail.com/en-US/blog/master-email-signature-templates-for-outlook-key-strategies-for-success)
- Best Practices for Creating Organization-wide Signatures in Outlook with Active Directory Integration - Microsoft Q&A (https://learn.microsoft.com/en-gb/answers/questions/1362992/best-practices-for-creating-organization-wide-sign)
- How to add and change an email signature in Outlook | Microsoft Support (https://support.microsoft.com/en-us/outlook/mail/how-to-add-and-change-an-email-signature-in-outlook)
- Create Your Email Signature in Outlook 365
- 40+ Email Signature Statistics for 2026 (Data + Insights) (https://wavecnct.com/blogs/email-signature-statistics)
- Email Signature Essentials: Key Statistics to Know for 2023 (https://blog.hubspot.com/marketing/email-signature-statistics)
- Email signature statistics: Why every business should optimize their email signatures — Stripo.email (https://stripo.email/blog/email-signature-statistics-why-every-business-should-optimize-their-email-signatures)
- Email Signature Statistics: A Closer Look at Email Signatures in 2026 (https://mysignature.io/blog/email-signature-statistics)
- Customize Your Signature with Images and Formatting
- How to add and change an email signature in Outlook | Microsoft Support (https://support.microsoft.com/en-us/outlook/mail/how-to-add-and-change-an-email-signature-in-outlook)
- Email Signature Best Practices Guide With Examples - MailerLite (https://mailerlite.com/blog/email-signature-best-practices)
- How to Add an Image to Outlook Signature (Desktop & Web) (https://wisestamp.com/guides/how-to-add-image-to-outlook-signature)
- 40+ Email Signature Statistics for 2026 (Data + Insights) (https://wavecnct.com/blogs/email-signature-statistics)
- Email signature design guide: elements, layout & tips (https://exclaimer.com/email-signature-handbook/email-signature-design)
- Manage and Set Default Signatures in Outlook 365
- Email Signature Statistics: A Closer Look at Email Signatures in 2026 (https://mysignature.io/blog/email-signature-statistics)
- 40+ Email Signature Statistics for 2026 (Data + Insights) (https://wavecnct.com/blogs/email-signature-statistics)
- Create Email Signatures for Shared Mailboxes in Microsoft 365 (https://blog.admindroid.com/how-to-add-default-email-signatures-for-shared-mailboxes-in-microsoft-365)
- New email signature management and editor features in Outlook on the web | Topedia Blog (https://blog-en.topedia.com/2026/01/new-email-signature-management-and-editor-features-in-outlook-on-the-web)
Get started with Scribe
Create your signature in minutes
Free 14-day trial — no credit card.