How to Add Signature in Office 365 Outlook: A Step-by-Step Guide
Effectively managing email signatures in Office 365 Outlook is essential for ensuring brand consistency and professionalism in digital communications. This
Sophie Grant
Email Signature Specialist, Scribe
Introduction
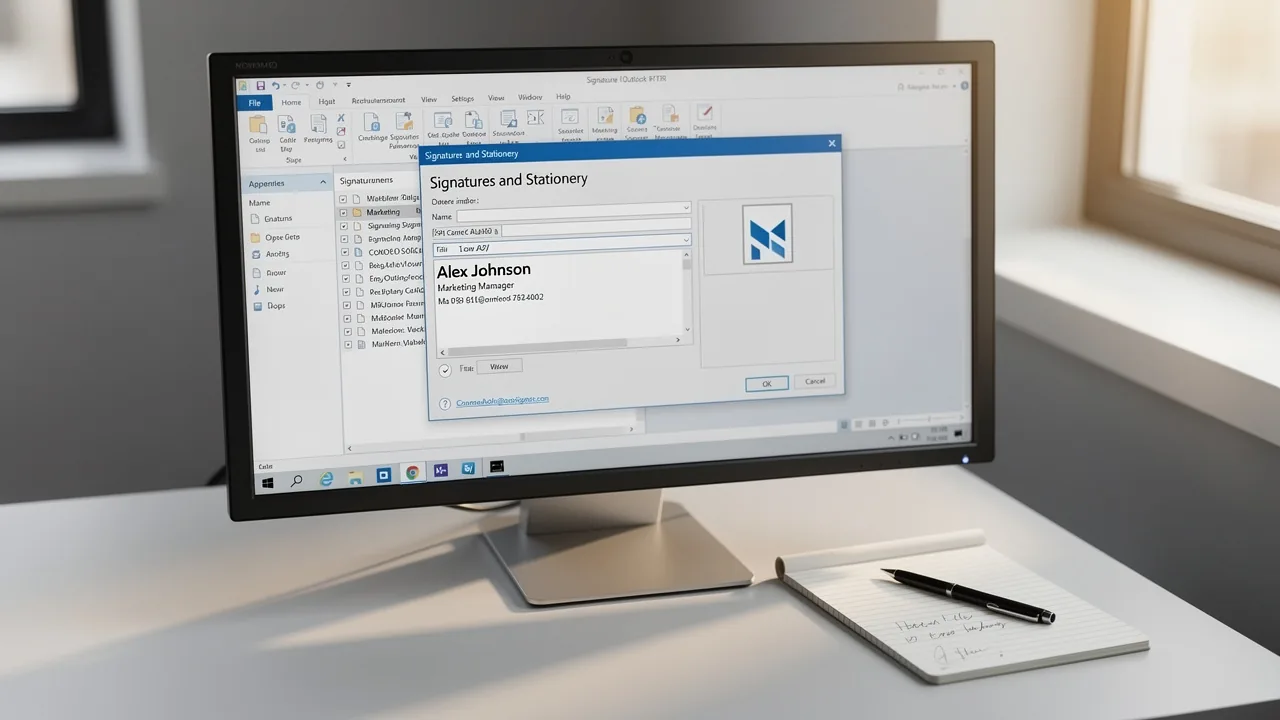
Effectively managing email signatures in Office 365 Outlook is essential for ensuring brand consistency and professionalism in digital communications. This guide offers a comprehensive, step-by-step approach to creating and managing email signatures, ensuring that marketing teams can uphold their brand identity with ease.
Users often encounter challenges with signatures not displaying correctly or facing formatting issues, which can undermine the professionalism of their communications. Addressing these challenges is vital for maintaining a professional image in all digital communications.
Prepare Your Outlook Settings for Signature Creation
Inconsistencies and miscommunication can arise when managing email signatures manually, which is why it's important to know how to add signature in Office 365 Outlook.
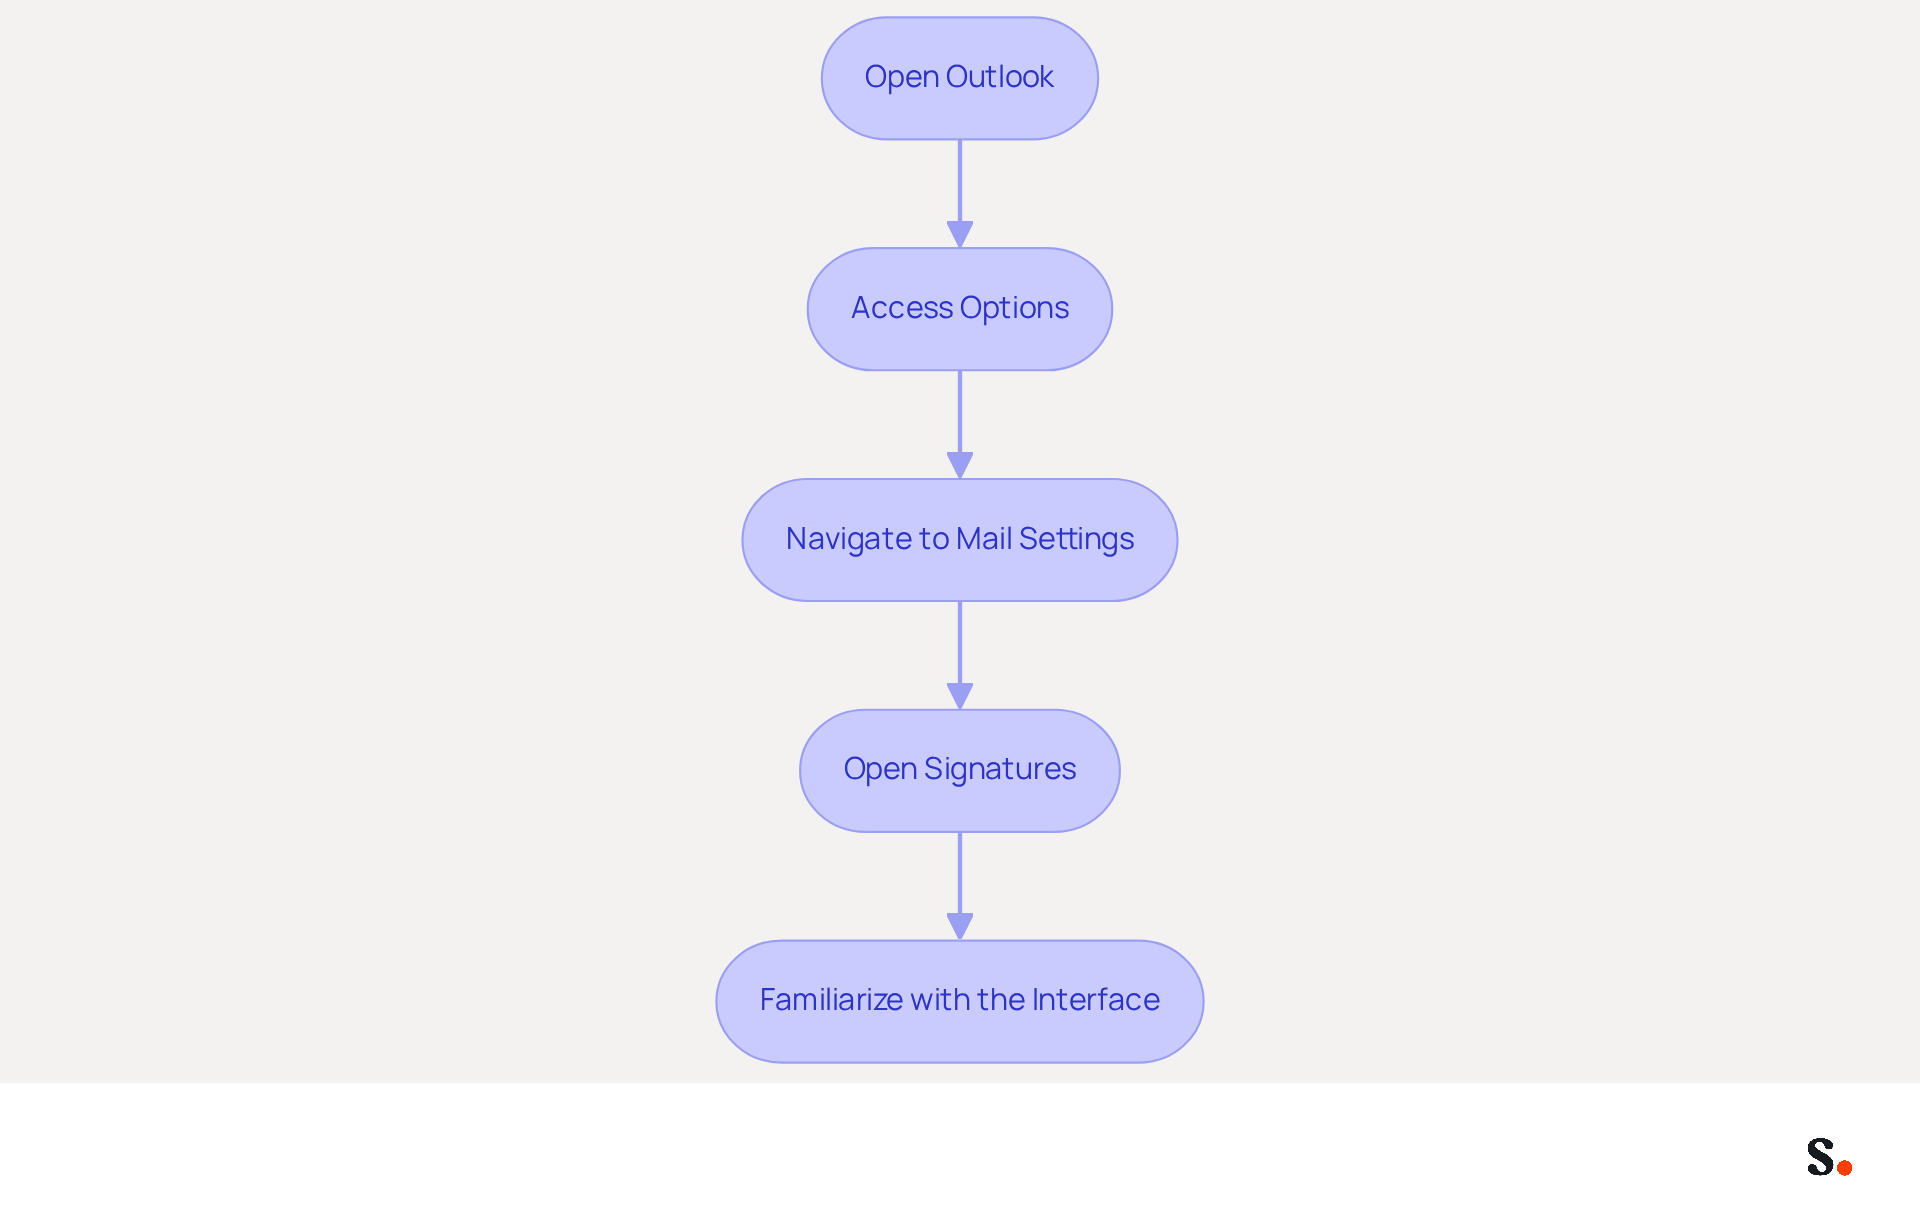
- Open Outlook: Launch the Outlook application on your computer.
- Access Options: Click on the 'File' tab in the top left corner, then select 'Options' from the menu.
- Navigate to Mail Settings: In the Outlook Options window, select 'Mail' in the left sidebar.
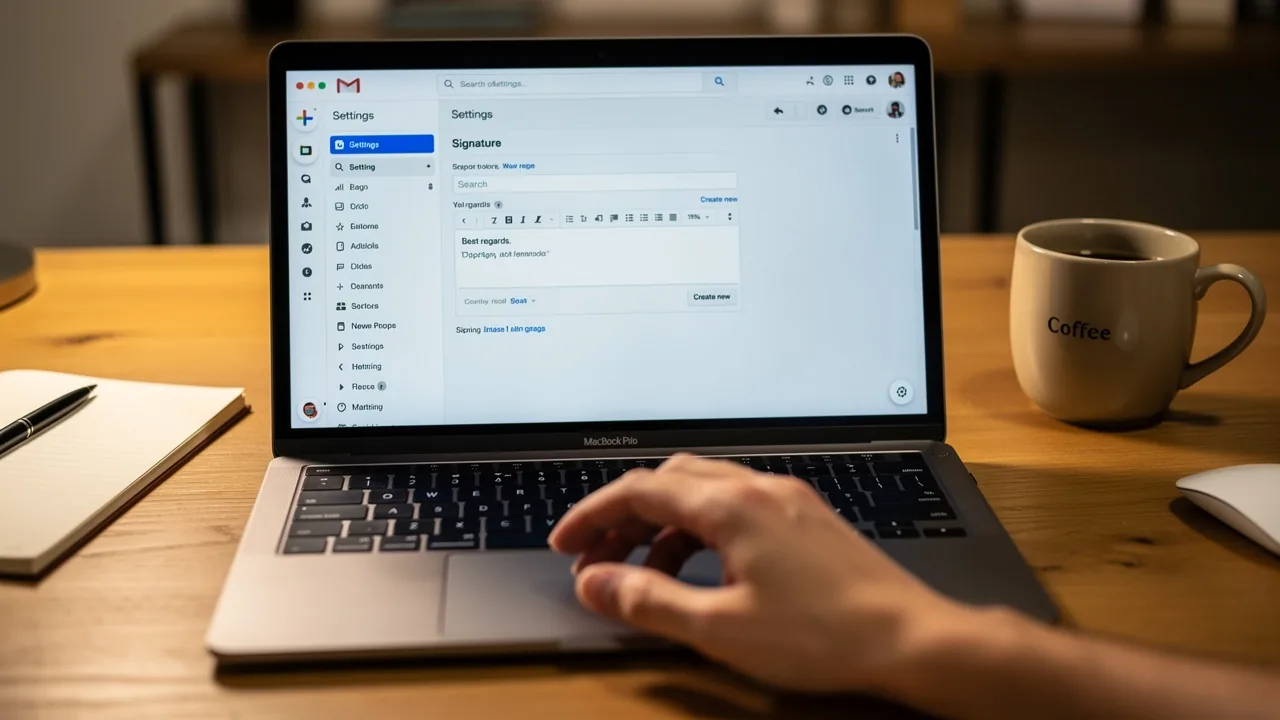
- Open Signatures: Look for the 'Signatures...' button in the 'Compose messages' section and click on it. This will open the Signatures and Stationery dialog box.
- Familiarize with the Interface: Take a moment to explore the dialog box, noting the options available for creating and managing your signature. This will help you learn how to add signature in Office 365 Outlook and format it to suit your needs.
Integrating Scribe with your messaging system automates the management of message identifiers. This means any updates to your teammates' information are reflected in real-time, eliminating the need for manual input. This saves time and ensures your correspondence identifiers are consistent and compliant with SOC 2 Type II standards, which guarantees secure data handling. With Scribe, you can simplify your management process for digital correspondence branding, enabling your marketing team to uphold brand consistency effortlessly. Notably, 44.4% of professionals update their contact details 2-4 times a year, underscoring the importance of keeping your information current. Additionally, 52% of professionals believe a strong digital identifier is crucial for building trust with clients. To ensure your email identifiers consistently represent your brand and serve as effective marketing tools, it's important to understand how to add signature in Office 365 Outlook when configuring your Outlook settings correctly.
Create Your Email Signature in Office 365 Outlook
Establishing credibility in your communications is essential, and knowing how to add a signature in Office 365 is important. To enhance your email communication, it's important to learn how to add a signature in Office 365 Outlook. Follow these steps:
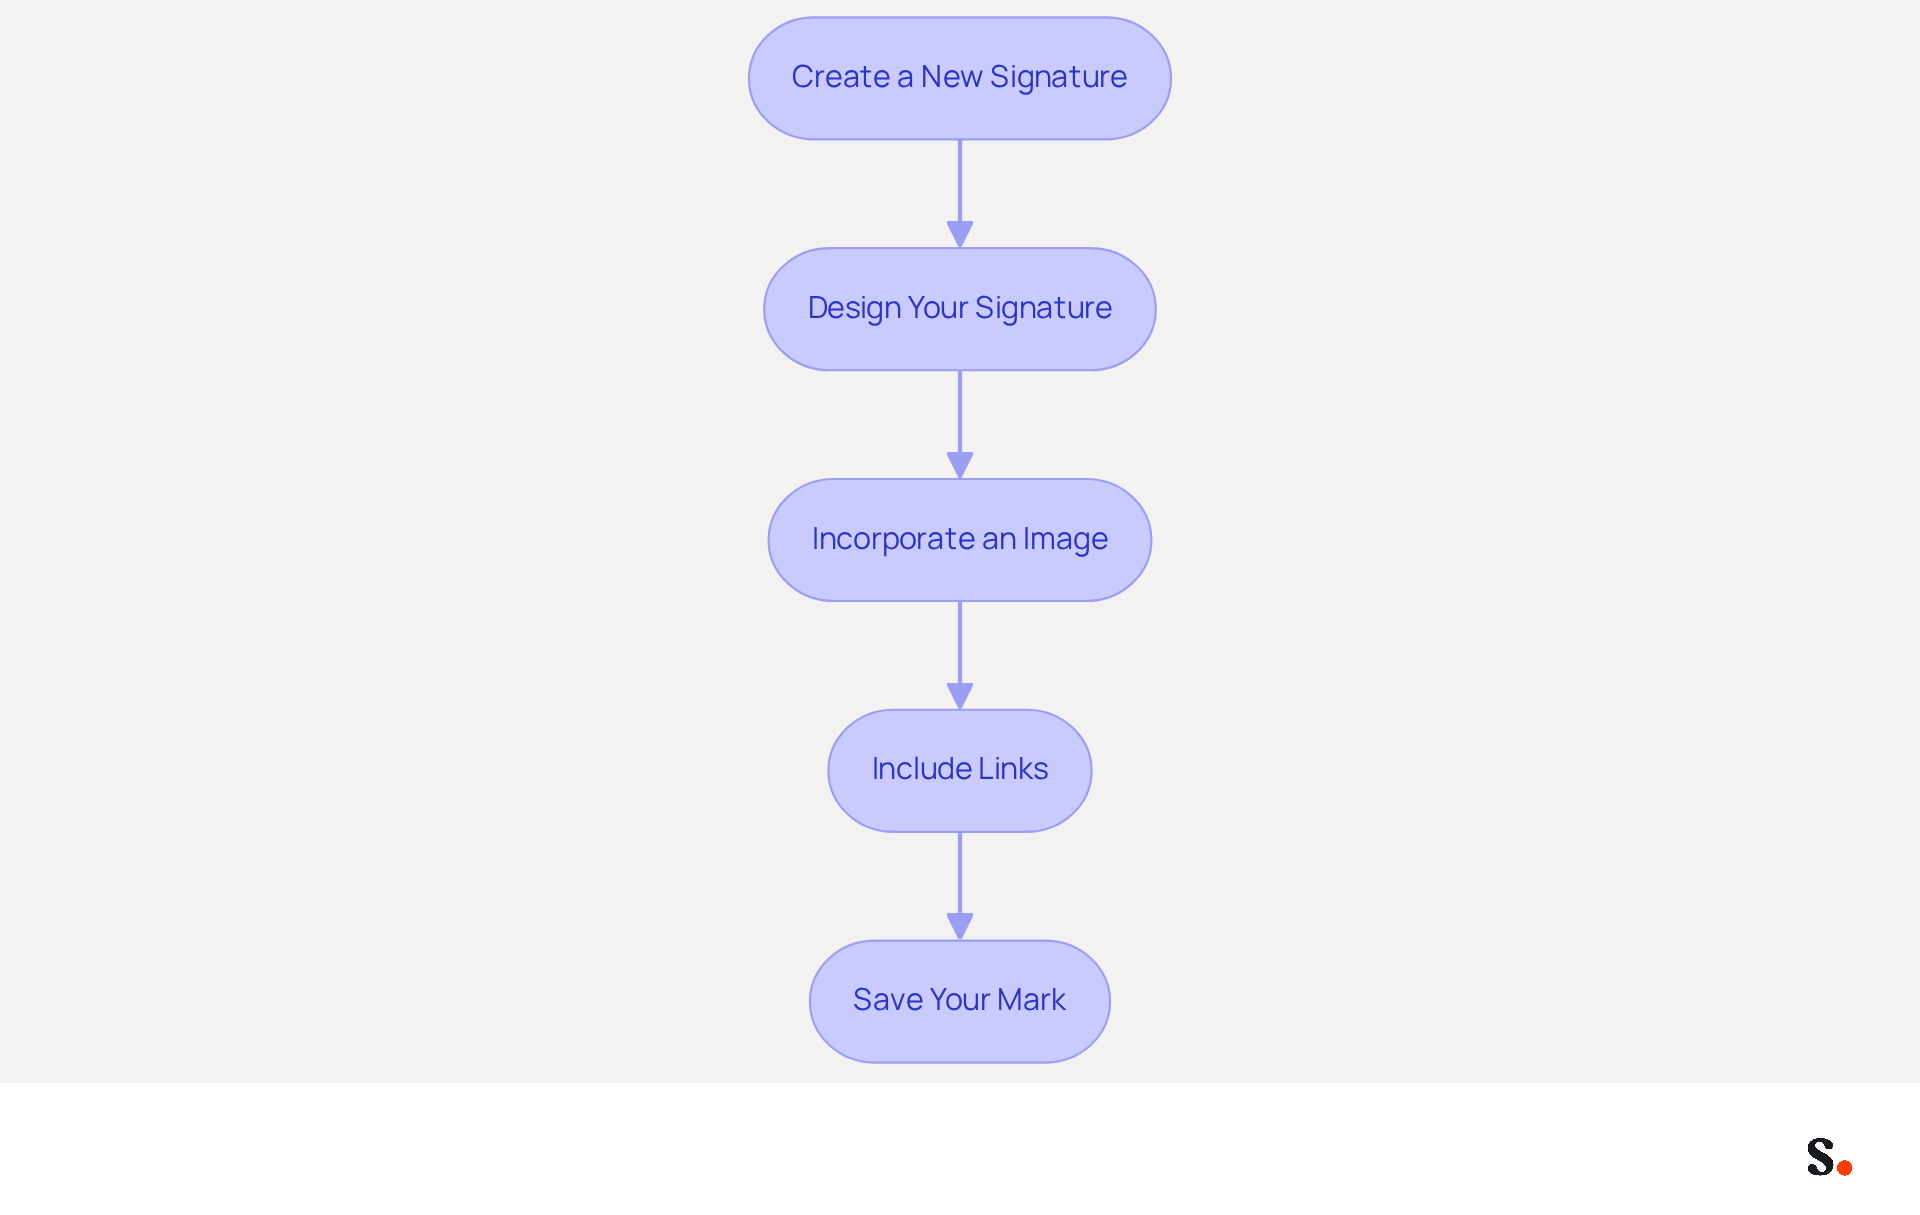
- Create a New Signature:
Open the Signatures and Stationery dialog box and select 'New' to begin the process of creating a new sign-off. Enter a name for your mark and press 'OK' to continue. - Design Your Signature:
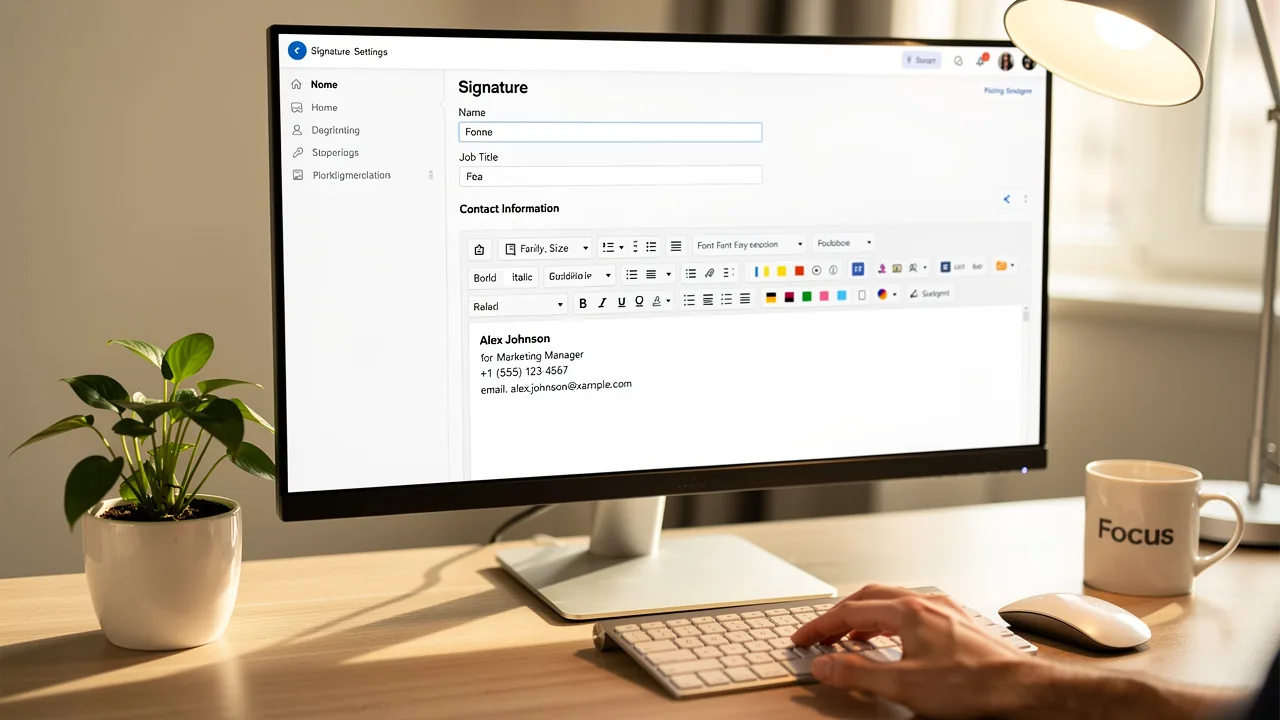
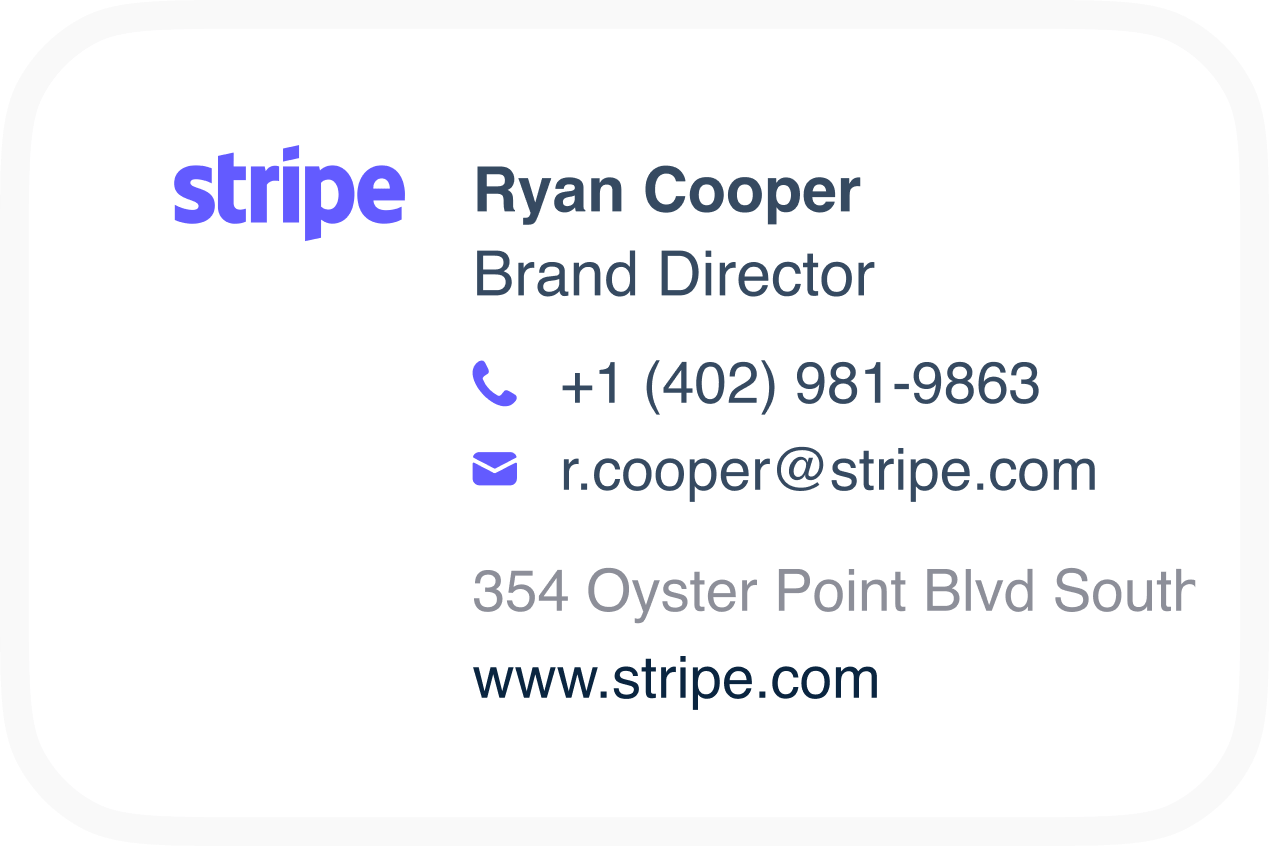
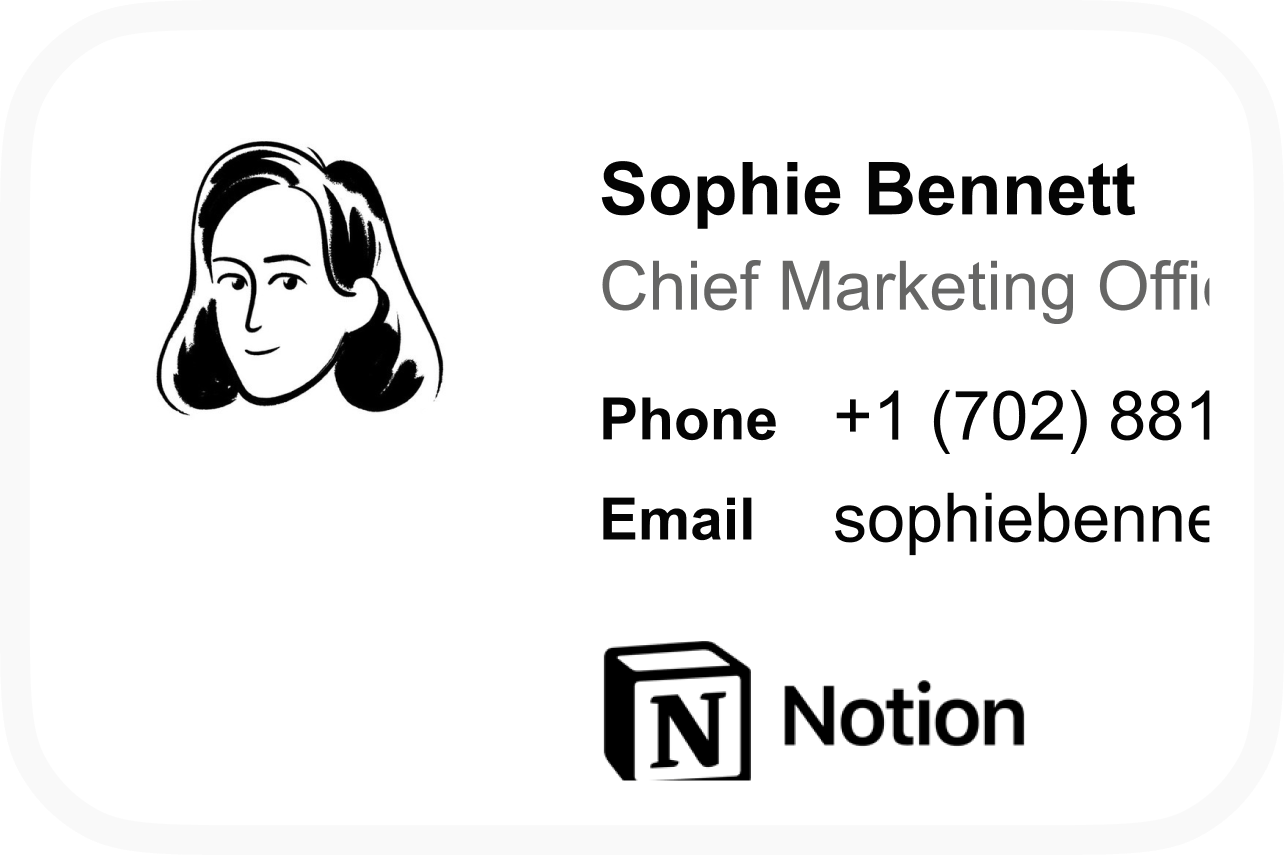
Design your signature by inputting your name, title, and any other pertinent information, such as your phone number and company name in the editing area. Utilize the formatting options available to adjust the font, size, and color to align with your brand identity. It is advisable to limit your message colors to two to ensure clarity and consistency with your branding. - Incorporate an Image:
Select the image icon in the toolbar to incorporate a logo or image. Browse your files to select the desired image, ensuring it is appropriately sized for an email footer, typically no wider than 600 pixels for desktop and 0 pixels for mobile, as per industry standards. - Include Links:
Include links by highlighting the text you wish to link, pressing the hyperlink icon, and entering the corresponding URL. This can direct recipients to your website or social media profiles, enhancing engagement. - Save Your Mark:
After finalizing your mark, click 'OK' to save your settings and apply the changes. You can create multiple identifiers for different purposes, ensuring that your branding remains consistent across all communications.
With Scribe, when you update your Aircall setup, it automatically syncs with your email signatures, so your branding stays consistent without extra work from your team. Scribe's automated management ensures that your teammates' identification information is always current, reflecting any modifications made in your HRIS. This straightforward approach allows for quick deployment, usually within one day, allowing Marketing teams to manage their messaging independently after the initial IT setup.
Without a refined digital mark, your credibility may be at risk, with studies indicating that 76% of recipients feel more assured in the sender when a branded mark is utilized (DemandGen Report). Plus, with Scribe's SOC Type II compliance, you can be assured that your data is handled securely. Ultimately, neglecting your email signature could undermine your professional image.
Set Your Signature as Default for Outgoing Emails
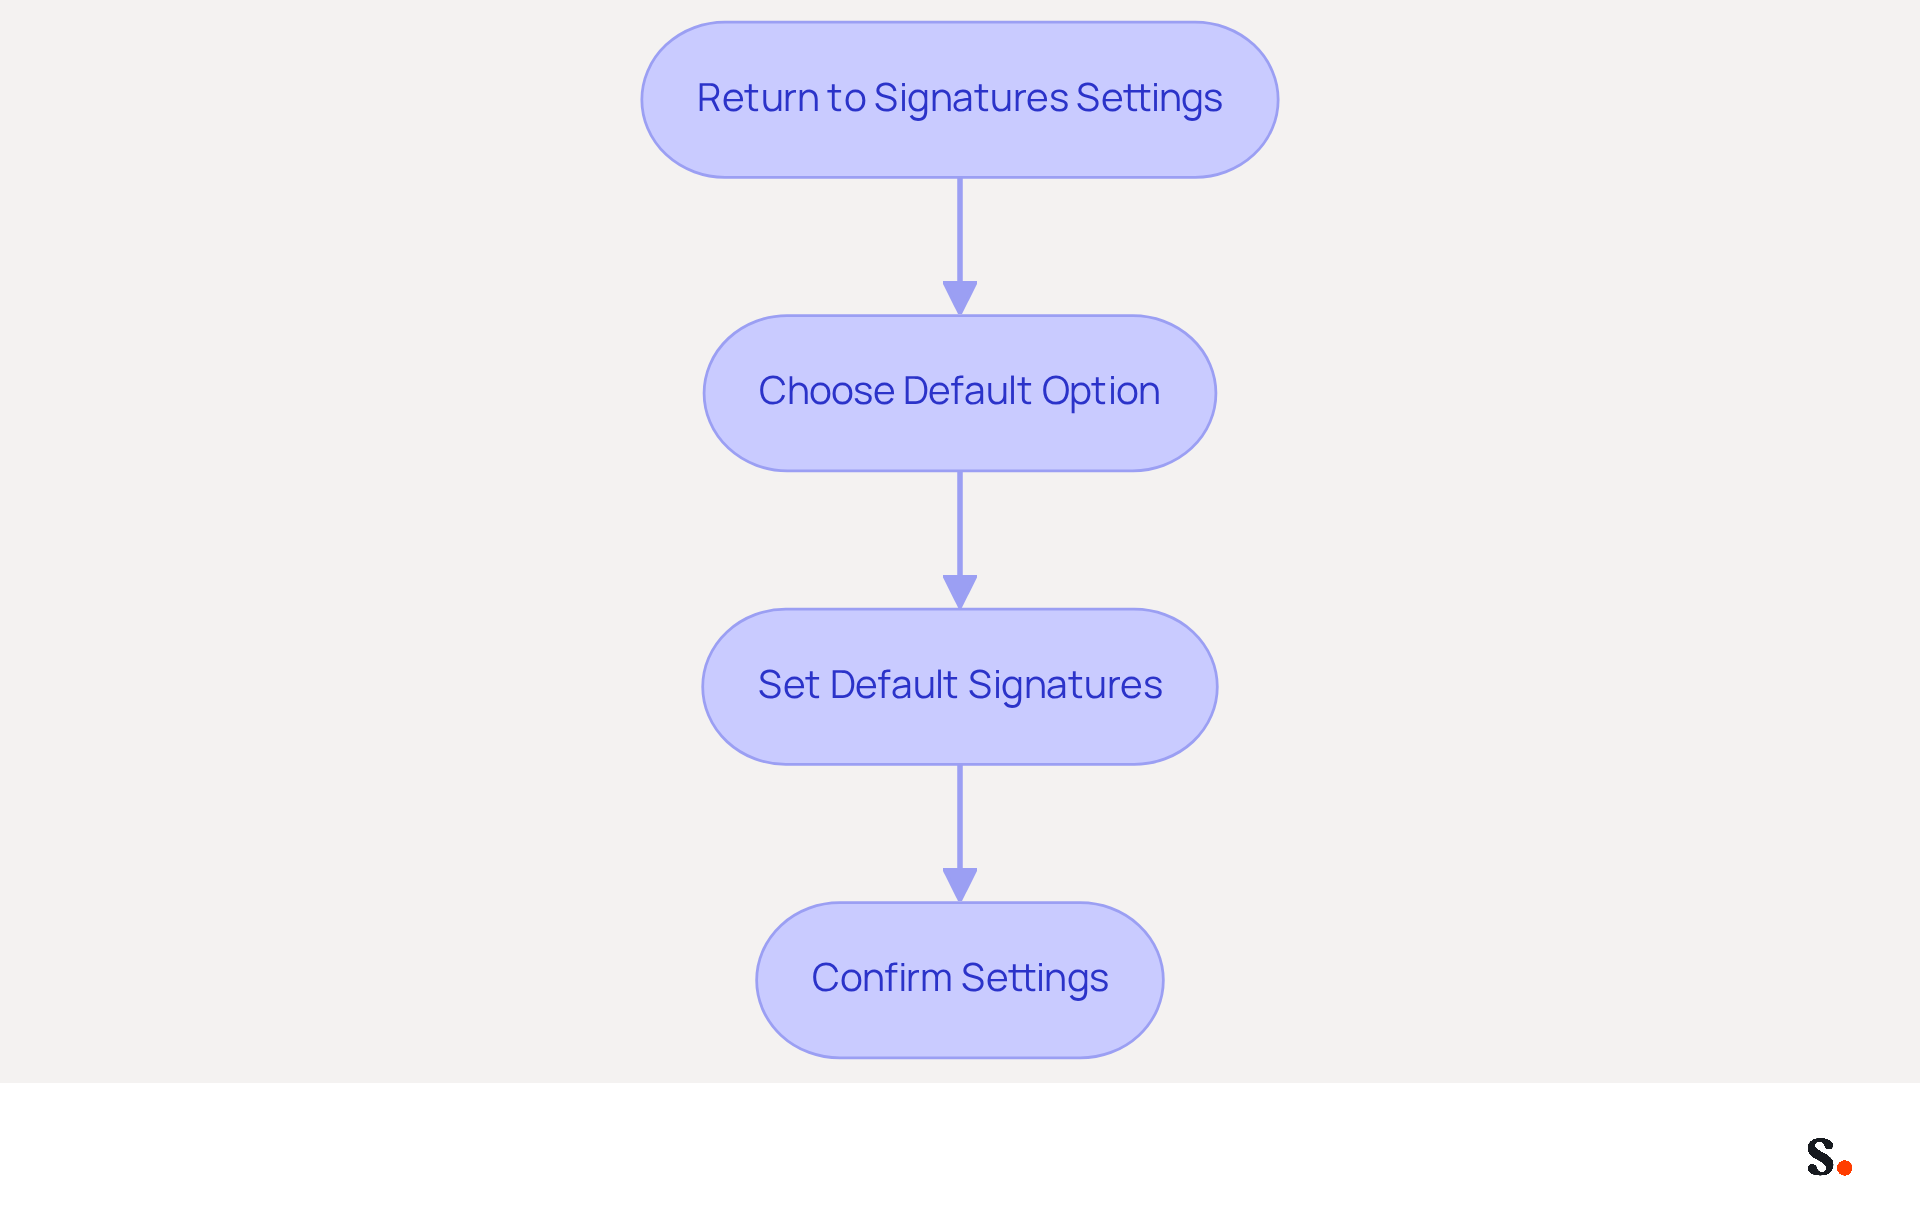
- Return to Signatures Settings: If you are not already in the Signatures and Stationery dialog box, repeat the steps from the first section to access it.
- Choose Default Option: In the 'Choose default option' section, select your email account from the dropdown menu if you have multiple accounts.
- Set Default Signatures: Under 'New messages', select the designation you just created from the dropdown list. You can also choose a signature for 'Replies/forwards' if desired. Make sure you have Super Admin permissions for your service provider to use Scribe's one-click synchronization. You will have the option to select which teammates you want to sync with the application. With Scribe's one-click synchronization, any updates to your teammates' information will be automatically reflected in your correspondence, which helps maintain brand consistency and enhances operational efficiency.
- Confirm Settings: Click 'OK' to save your changes and close the dialog box. Now, your signature is set as the default for all outgoing messages, backed by Scribe's commitment to data security through SOC 2 Type II compliance.
Troubleshoot Common Signature Issues in Outlook
It is crucial for maintaining professionalism in communication to know how to add signature in Office 365 Outlook so that your email signature displays correctly.
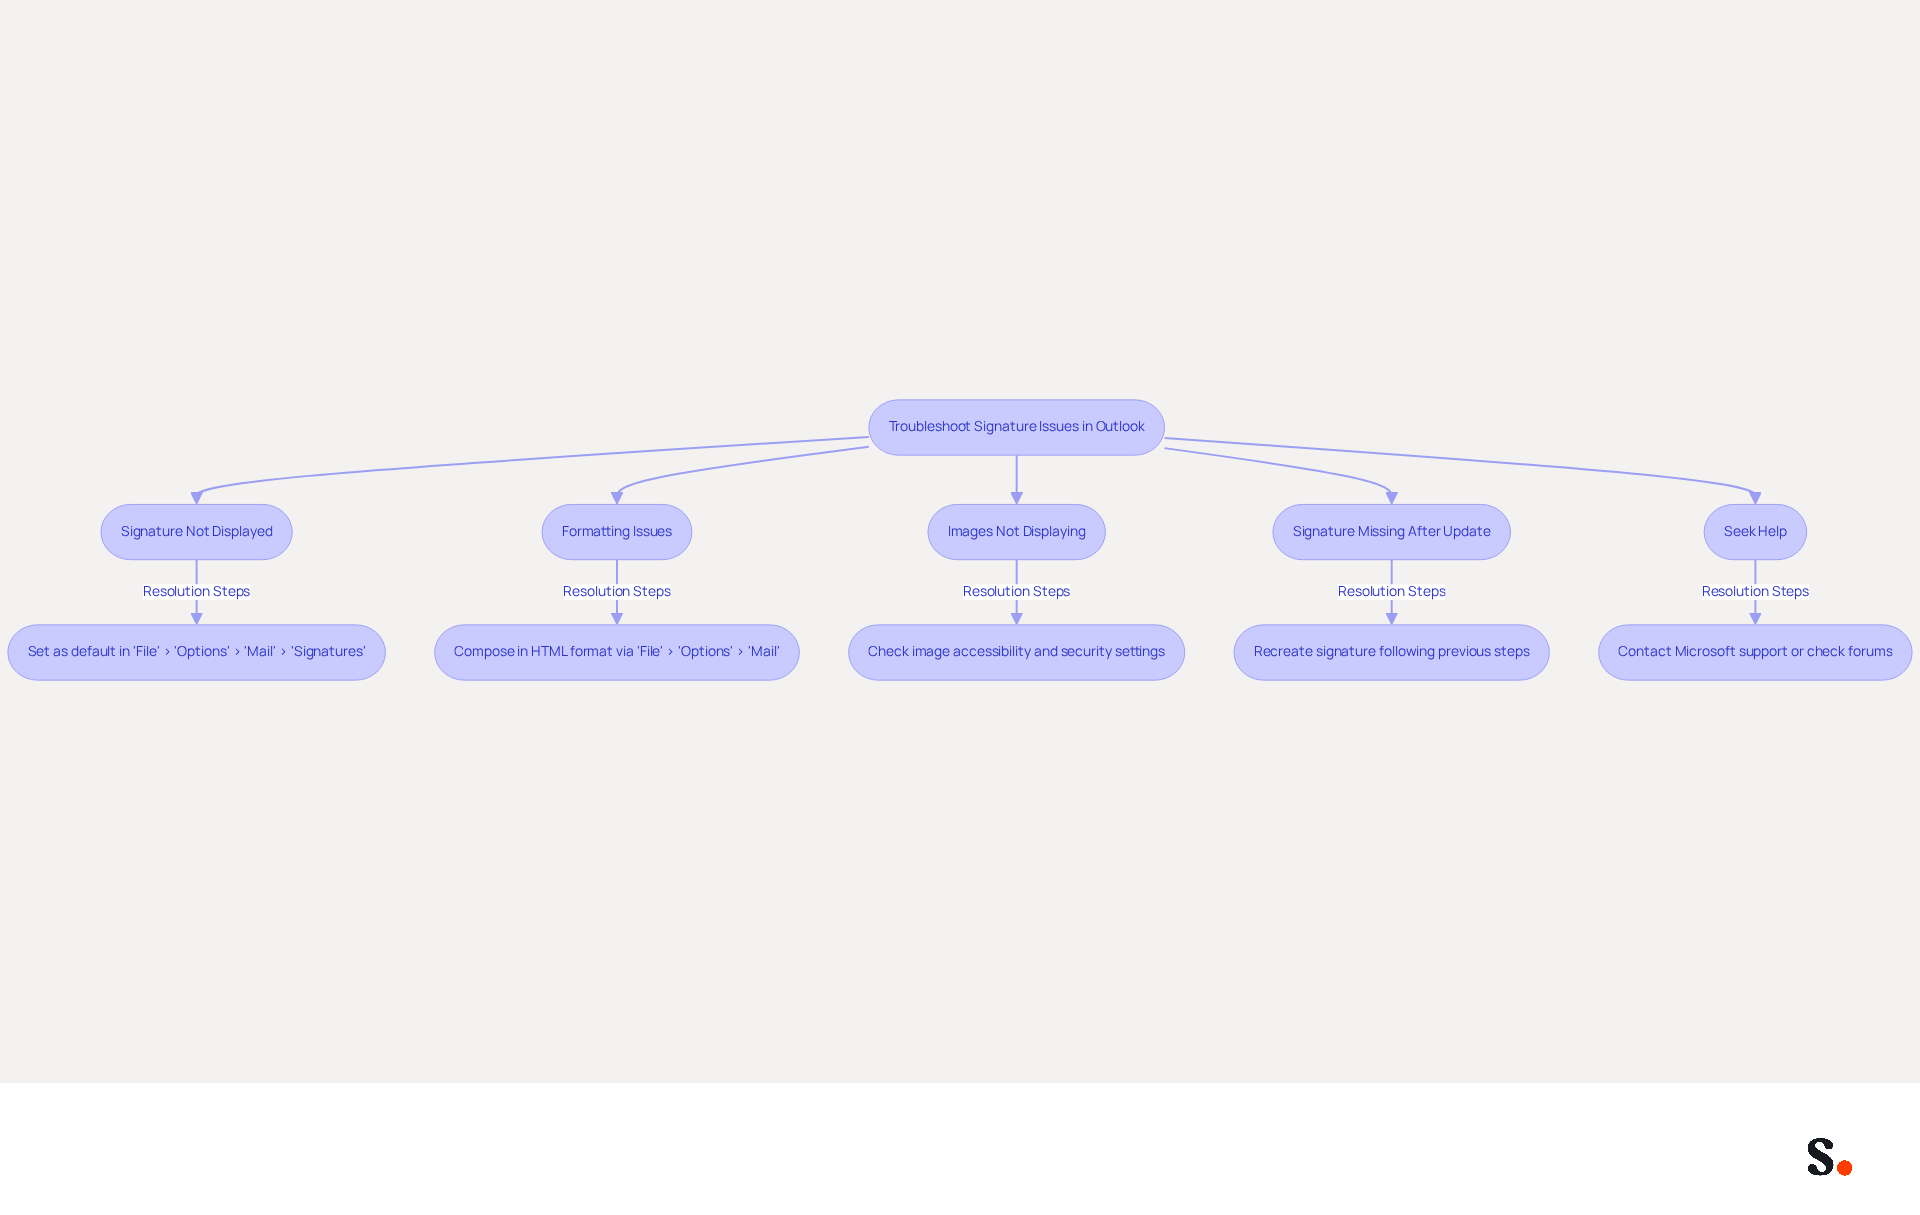
- Signature Not Displayed: If your signature isn’t appearing in new messages, make sure it’s set as the default. Navigate to 'File' > 'Options' > 'Mail' > 'Signatures' to confirm your settings.
- Formatting Issues: If your identifier appears differently than anticipated, ensure you are composing messages in HTML format. Check this by going to 'File' > 'Options' > 'Mail' and selecting 'HTML' under 'Compose messages'. This can help maintain consistent formatting across devices.
- Images Not Displaying: If the images in your email footer aren’t showing up, check that the files are accessible and not being blocked by security settings. You may need to reinsert the images, ensuring they are hosted correctly to avoid visibility issues.
- Signature Missing After Update: Many users find their signatures vanish unexpectedly after updates, leading to frustration. If this happens, it may be necessary to recreate your signature. To set it up again, follow the steps outlined in previous sections on how to add signature in Office 365 Outlook, as updates can often reset local settings and affect signature assignments.
- Seek Help: If problems continue, consider reaching out to Microsoft support or checking community forums for troubleshooting advice. Engaging with these resources can provide insights from other users who have faced similar challenges.
Addressing these signature issues promptly can prevent potential miscommunication and uphold your professional image.
Conclusion
Creating a professional email signature in Office 365 Outlook is crucial for effective communication and brand representation. Following these steps allows users to create a professional email signature that reflects their identity and boosts their credibility. Key insights from this guide include:
- The importance of preparing Outlook settings
- Designing a signature that aligns with brand identity
- Troubleshooting common issues that may arise
Users often encounter challenges when trying to create a signature that meets their needs. Utilizing tools like Scribe can further streamline this process, ensuring that email signatures are automatically updated and compliant with security standards such as SOC 2 Type II. This not only saves time but also reinforces the integrity of your communications.
A well-designed email signature can greatly influence how recipients view your professionalism. Using tools like Scribe makes it easier for marketing teams to keep their email signatures consistent and engaging. Invest in effective email signature management to transform your communication strategy and elevate your brand's presence in the digital landscape.
Frequently Asked Questions
Why is it important to manage email signatures properly?
Proper management of email signatures is crucial to avoid inconsistencies and miscommunication in professional correspondence.
How do I access the signature settings in Office 365 Outlook?
To access the signature settings, open Outlook, click on the 'File' tab, select 'Options', then choose 'Mail' from the left sidebar, and finally click on the 'Signatures...' button in the 'Compose messages' section.
What should I do after opening the Signatures and Stationery dialog box?
After opening the dialog box, take a moment to explore the available options for creating and managing your signature to understand how to format it to suit your needs.
How does integrating Scribe with my messaging system benefit email signature management?
Integrating Scribe automates the management of message identifiers, ensuring that updates to teammates' information are reflected in real-time, which saves time and maintains consistency and compliance with SOC 2 Type II standards.
What percentage of professionals update their contact details frequently?
44.4% of professionals update their contact details 2-4 times a year.
Why is a strong digital identifier important for professionals?
A strong digital identifier is crucial for building trust with clients, as indicated by 52% of professionals.
How can I ensure my email identifiers represent my brand effectively?
To ensure your email identifiers consistently represent your brand, it's important to understand how to add a signature in Office 365 Outlook and configure your Outlook settings correctly.
List of Sources
- Prepare Your Outlook Settings for Signature Creation
- Email Signatures vanishing - New Outlook | Microsoft Community Hub (https://techcommunity.microsoft.com/discussions/outlookgeneral/email-signatures-vanishing---new-outlook/4418809)
- 40+ Email Signature Statistics for 2026 (Data + Insights) (https://wavecnct.com/blogs/email-signature-statistics)
- How to standardize email signature for a company - Microsoft Q&A (https://learn.microsoft.com/en-us/answers/questions/1469436/how-to-standardize-email-signature-for-a-company)
- Email signature statistics: Why every business should optimize their email signatures — Stripo.email (https://stripo.email/blog/email-signature-statistics-why-every-business-should-optimize-their-email-signatures)
- Email signature management in Microsoft 365 & Office 365 (https://codetwo.com/guides/email-signatures-in-office-365)
- Create Your Email Signature in Office 365 Outlook
- Email Signature Best Practices - NEWOLDSTAMP (https://newoldstamp.com/blog/email-signature-best-practices)
- How to add and change an email signature in Outlook | Microsoft Support (https://support.microsoft.com/en-us/outlook/mail/how-to-add-and-change-an-email-signature-in-outlook)
- 40+ Email Signature Statistics for 2026 (Data + Insights) (https://wavecnct.com/blogs/email-signature-statistics)
- Create and Manage Your Signature on Outlook 365 Easily | Letsignit (https://letsignit.com/blog/outlook-365-email-signature)
- Create an Email Signature in Microsoft 365 | Help - Illinois State (https://help.illinoisstate.edu/display/Technology/Create+an+Email+Signature+in+Microsoft+365)
- Set Your Signature as Default for Outgoing Emails
- The impact of email signatures on your branding (https://signitic.com/en/resources/the-impact-of-email-signatures-on-your-branding)
- Email signature statistics: Why every business should optimize their email signatures — Stripo.email (https://stripo.email/blog/email-signature-statistics-why-every-business-should-optimize-their-email-signatures)
- Exclaimer Research: 67% of Marketers Expect Email Signatures to Support With Lead Gen In 2023 (https://businesswire.com/news/home/20230612141095/en/Exclaimer-Research-67-of-Marketers-Expect-Email-Signatures-to-Support-With-Lead-Gen-In-2023)
- 40+ Email Signature Statistics for 2026 (Data + Insights) (https://wavecnct.com/blogs/email-signature-statistics)
- Email Signature Statistics: A Closer Look at Email Signatures in 2026 (https://mysignature.io/blog/email-signature-statistics)
- Troubleshoot Common Signature Issues in Outlook
- Troubleshooting Email Signature Issues in Outlook (https://justanswer.com/email/lyeqn-email-signatures-no-longer-loading-automatically.html)
- Outlook Signature Not Working in Office 365: Causes & Fixes (https://exclaimer.com/email-signature-handbook/outlook-signature-not-working-in-office-365)
- How to solve problems with email signatures in Microsoft 365? (https://mail-signatures.com/articles/problems-email-signatures-office-365)
Get started with Scribe
Create your signature in minutes
Free 14-day trial — no credit card.