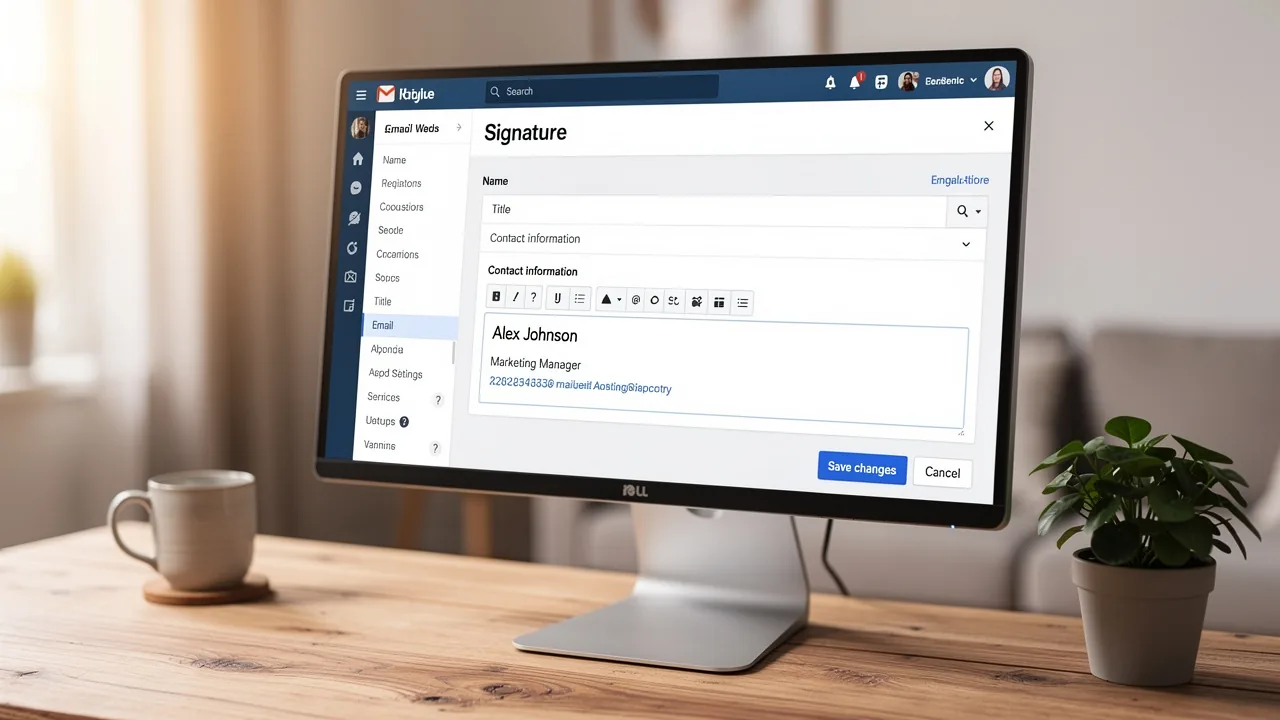
How to Automatically Add Signature in Outlook 365: A Step-by-Step Guide
While email signatures may seem like a simple detail, they play a crucial role in shaping brand perception and professionalism. As organizations increasingly
Sophie Grant
Email Signature Specialist, Scribe
On this page
Introduction
While email signatures may seem like a simple detail, they play a crucial role in shaping brand perception and professionalism. As organizations increasingly recognize the importance of consistent branding, understanding how to automatically add a signature in Outlook 365 becomes essential for maintaining a polished image. Many users struggle with the complexities of signature setup, often leading to frustration and inconsistency. This inconsistency can undermine the brand's professional image, making effective communication more challenging.
In this guide, we’ll walk you through the step-by-step process of creating and automating email signatures in Outlook 365, ensuring that every message sent reflects the brand's identity and professionalism. By mastering the setup of email signatures, organizations can ensure that their communications consistently reflect their brand's values and professionalism.
Understand the Importance of Email Signatures in Outlook 365
Email identifiers serve as essential components of business communications, significantly enhancing your professional image and brand promotion. A well-crafted email signature serves multiple purposes that can enhance your business communications:
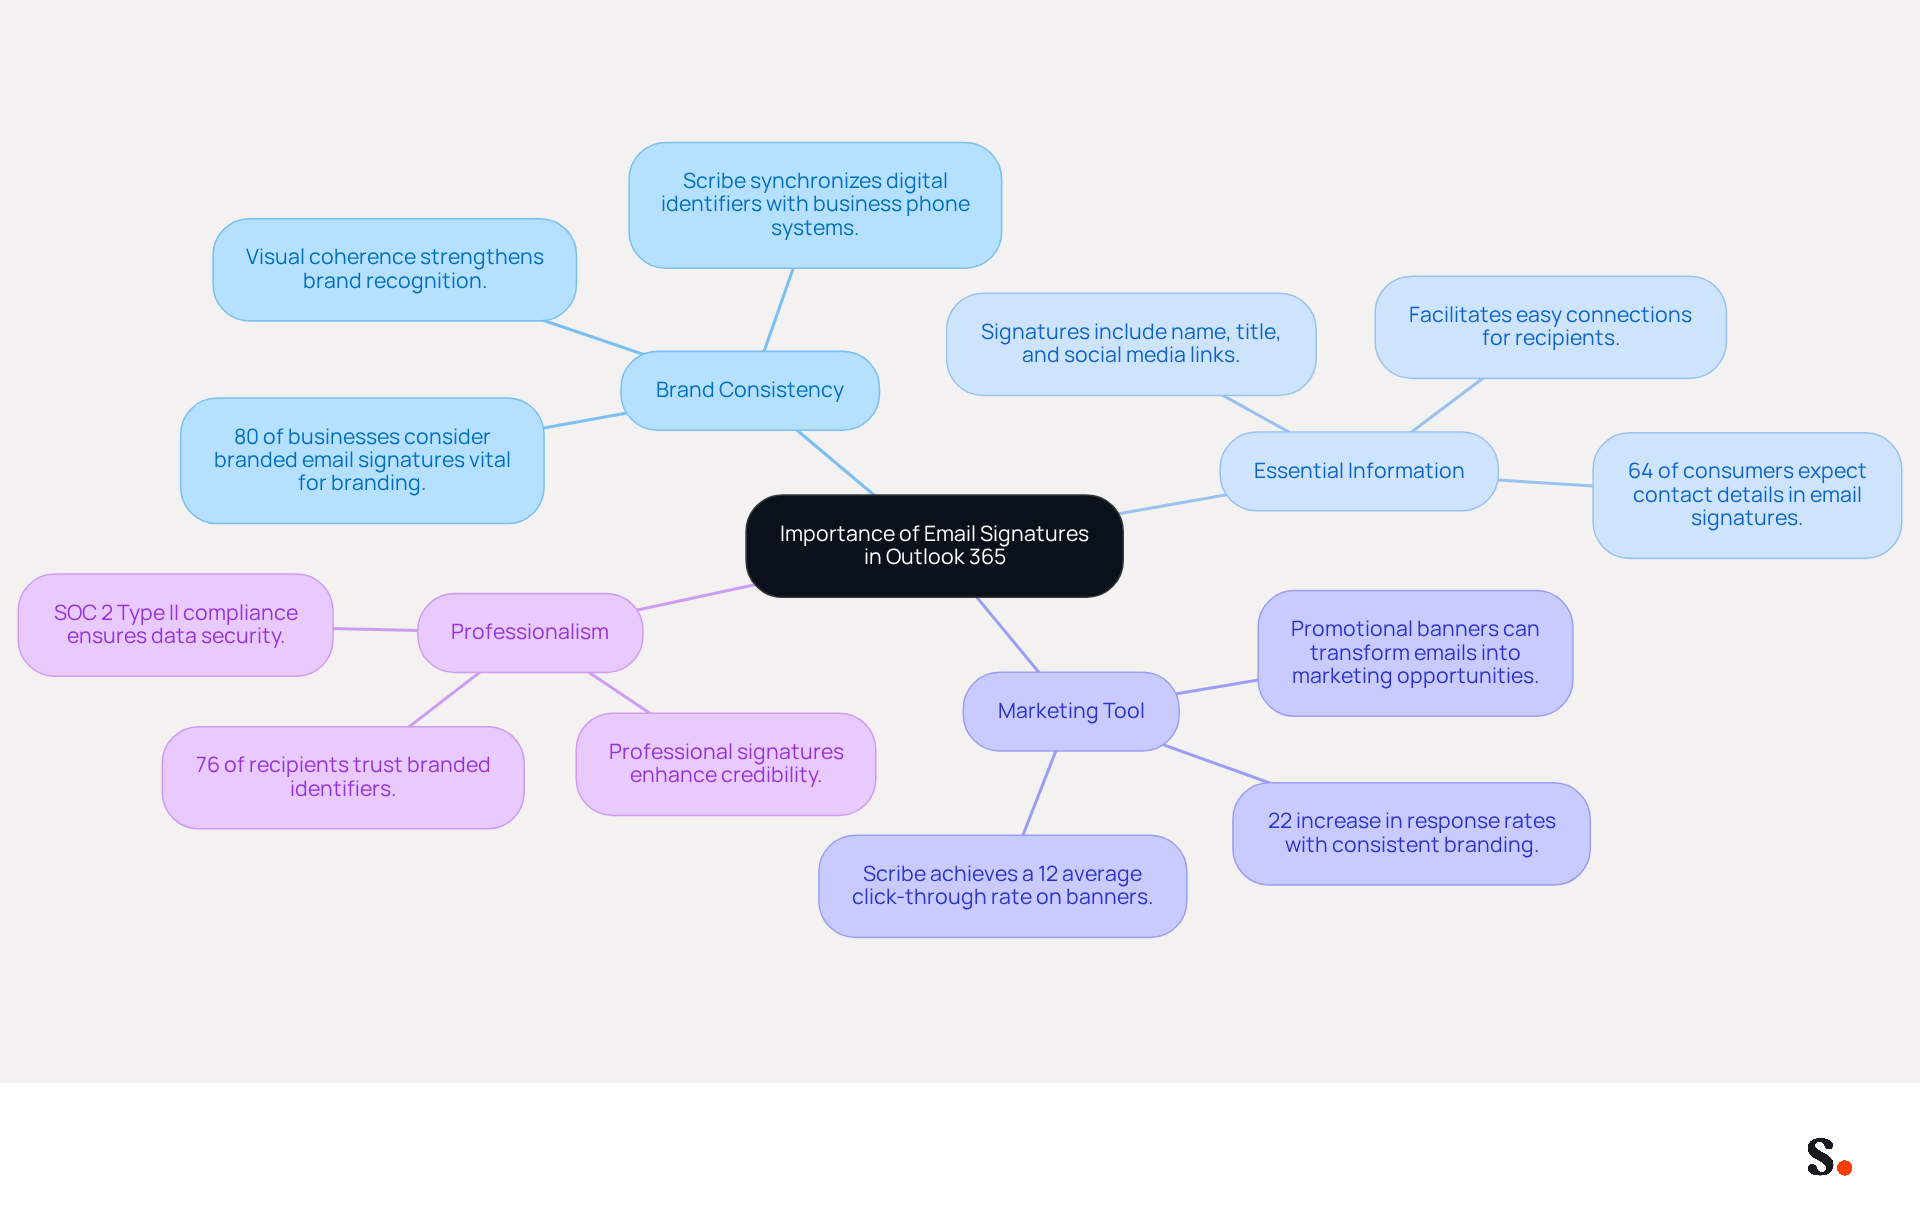
- Enhance Brand Consistency: Utilizing your company logo, colors, and fonts reinforces brand identity in every email, which is crucial as 80% of businesses consider branded email signatures vital for branding. With Scribe, your digital identifiers are automatically synchronized with your business phone system, ensuring that any updates made in your Aircall configuration are reflected in real-time. Additionally, Scribe auto-fills your teammates' identifiers, eliminating manual updates and simplifying the process of maintaining brand consistency.
- Provide Essential Information: Signatures typically include your name, title, contact information, and links to social media or your website, facilitating easy connections for recipients. Significantly, 64% of consumers anticipate contact information in message footers, highlighting their significance.
- Act as a Marketing Tool: Incorporating promotional banners or calls to action can transform each message into a marketing opportunity, potentially increasing engagement and lead generation. Businesses that uphold consistent branding in their correspondence see a 22% increase in response rates, demonstrating the effectiveness of this strategy. Scribe's automated management of digital signatures can assist you in achieving a 12% average click-through rate on banner displays, improving your marketing effectiveness.
- Establish Professionalism: A consistent and professional closing builds trust with recipients, enhancing the credibility of your communications. Research shows that 76% of recipients believe that branded identifiers enhance their trust in the sender. With Scribe's SOC 2 Type II compliance, you can be confident that your data is secure while you concentrate on creating impactful digital representations.
Understanding these benefits can motivate you to effectively design and automate your email footer in 365, particularly in learning how to automatically add signature in outlook 365, ensuring that every email sent not only reflects your brand's identity but also elevates your professional standing.
Access Signature Settings in Outlook 365
Accessing signature settings in Outlook 365 can be a straightforward process if you follow these steps carefully:
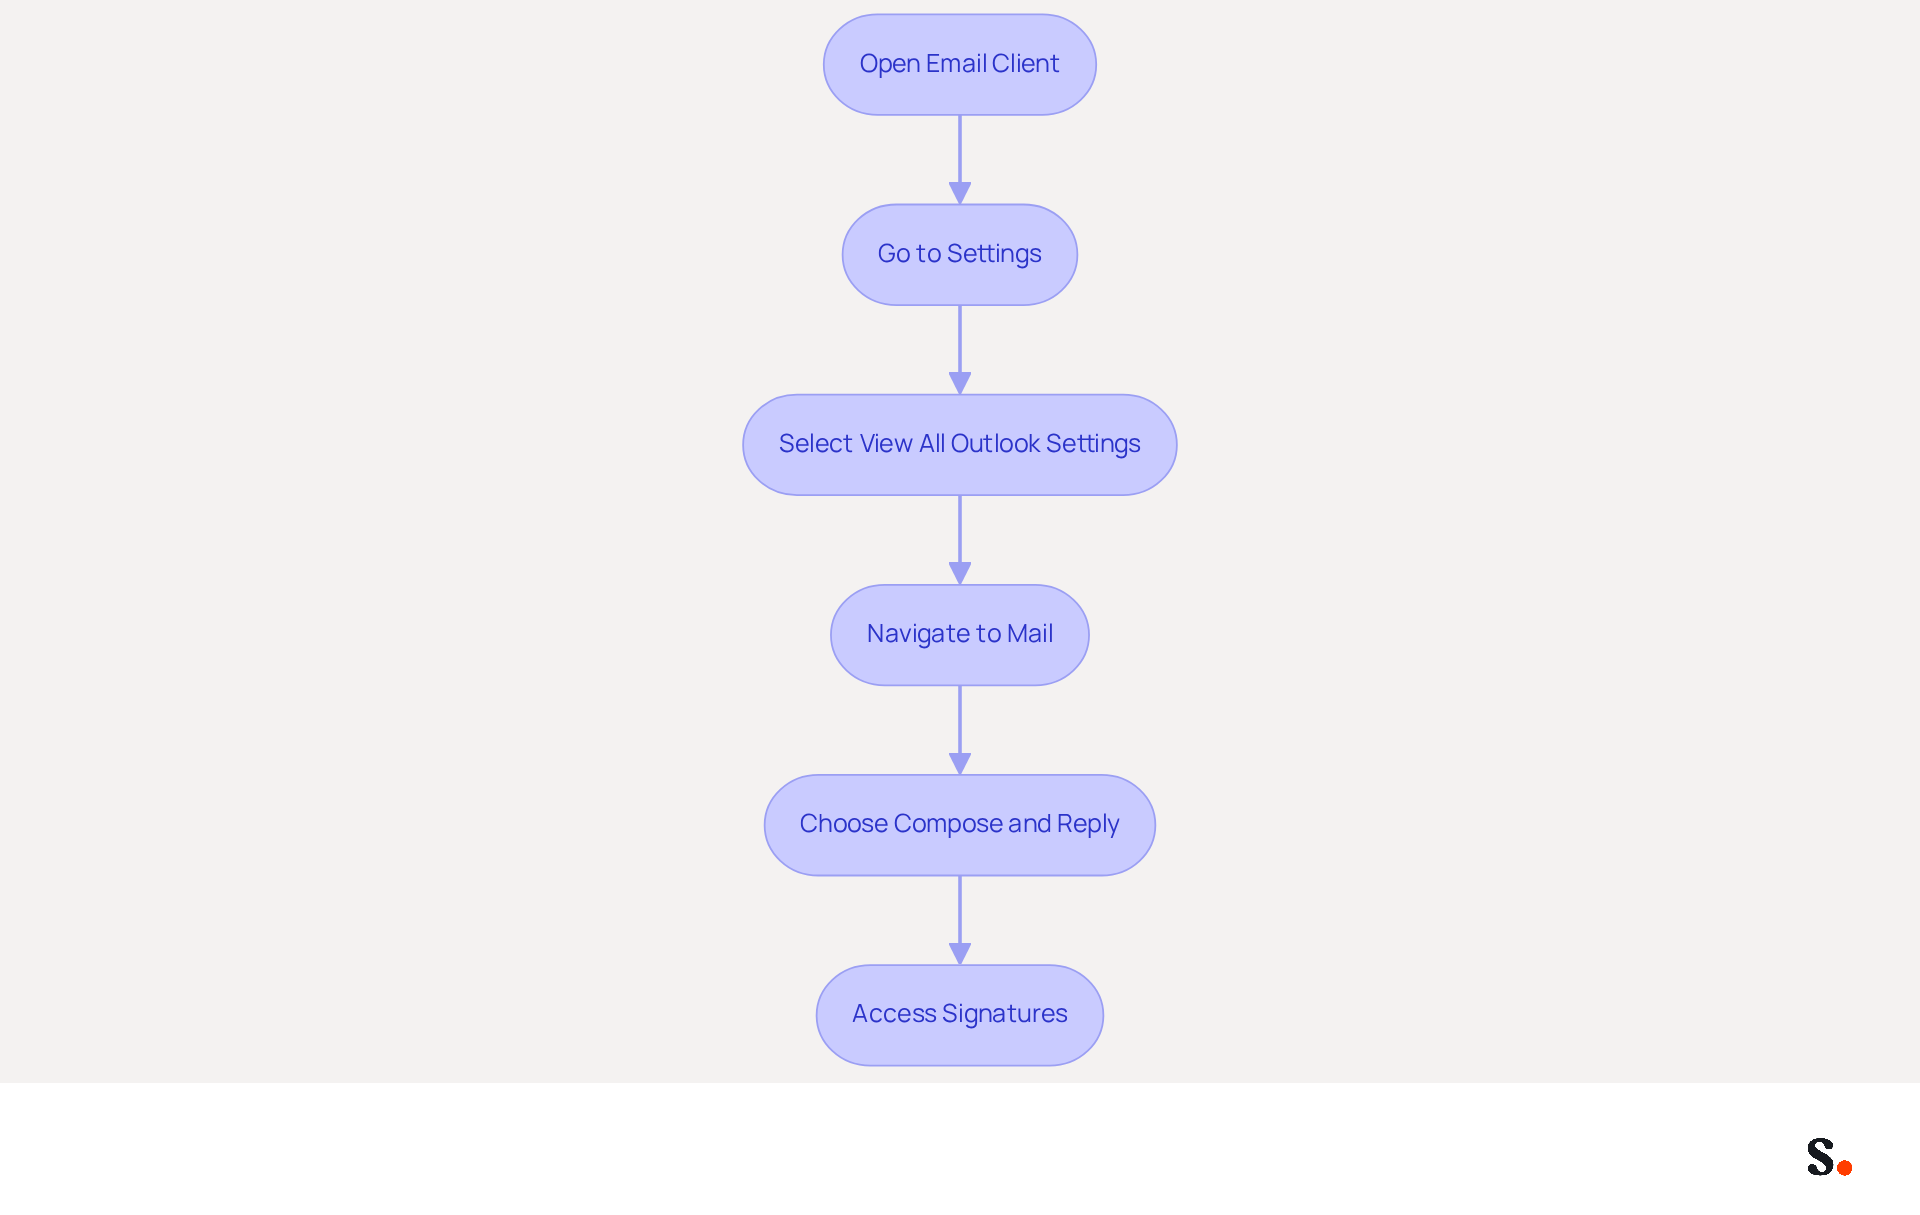
- Open the email client: Launch the application on your desktop or navigate to the web app in your browser.
- Go to Settings: Click on the gear icon (⚙️) located in the top right corner of the window.
- Select View All Outlook Settings: Scroll down and click on 'View all Outlook settings' at the bottom of the settings pane.
- Navigate to Mail: In the settings menu, select 'Mail' from the left sidebar.
- Choose Compose and Reply: Click on 'Compose and reply' to access the settings for your sign-off.
- Access Signatures: Here, you will find the option to create and manage your electronic identifiers. Click on 'Signatures' to proceed.
By following these steps, you will successfully access the settings needed to understand how to automatically add signature in Outlook 365. Effective digital identifiers can significantly enhance marketing efforts, with messages featuring branded elements experiencing a 22% rise in response rates. As Microsoft Support states, "Automate common or repetitive tasks with Quick steps in Outlook," which emphasizes the significance of utilizing tools like Scribe's signature generator.
This tool streamlines the process with one-click synchronization to Google Workspace, making it easy to sync your teammates' data. To enable this synchronization, you must grant permission to Scribe to connect with your provider, and you need to be a Super Admin to provide these permissions. This means that any changes in your Google Workspace, like job updates or group assignments, will automatically reflect in the application without you having to do anything. Organizations utilizing Scribe's features have reported enhanced branding and professionalism, emphasizing the importance of well-designed identifiers in communications. Furthermore, Scribe is SOC 2 Type II compliant, ensuring the safety of your data while improving your message management.
Create and Customize Your Email Signature
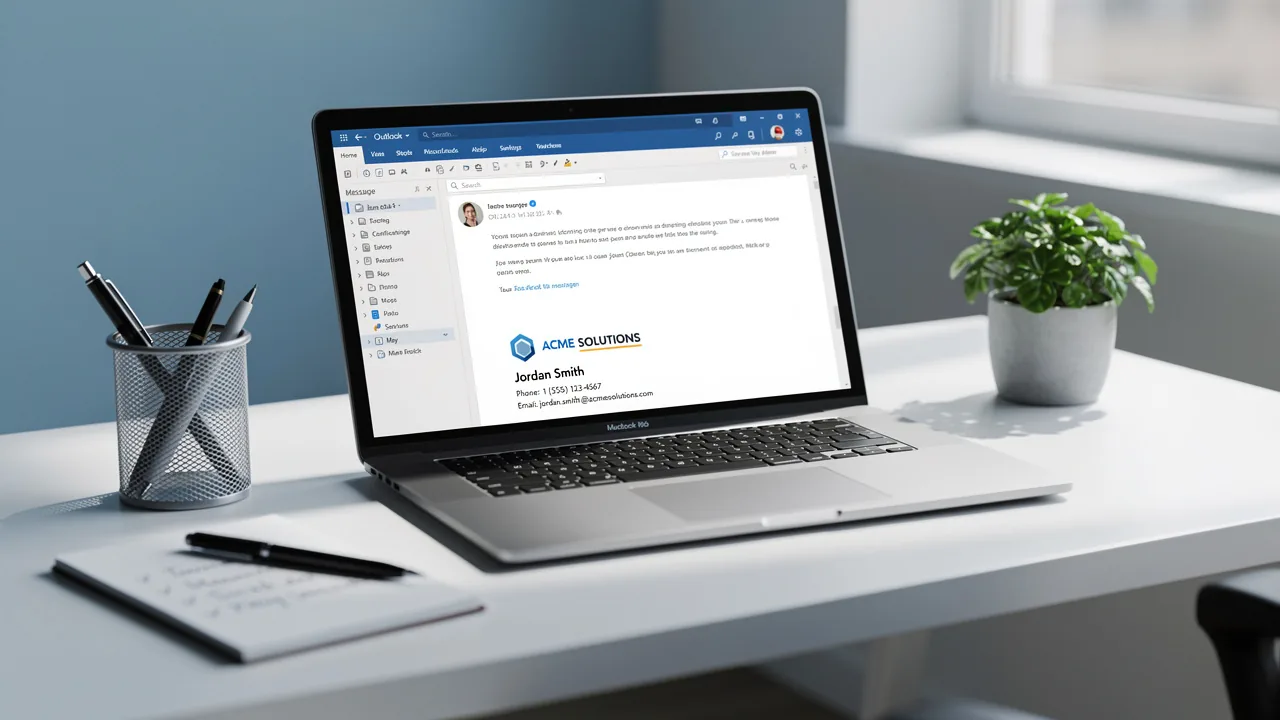
To enhance your brand's visibility and ensure consistent communication, it's essential to learn how to automatically add signature in Outlook 365 when creating a professional email signature. To create and customize your email signature, follow these steps:
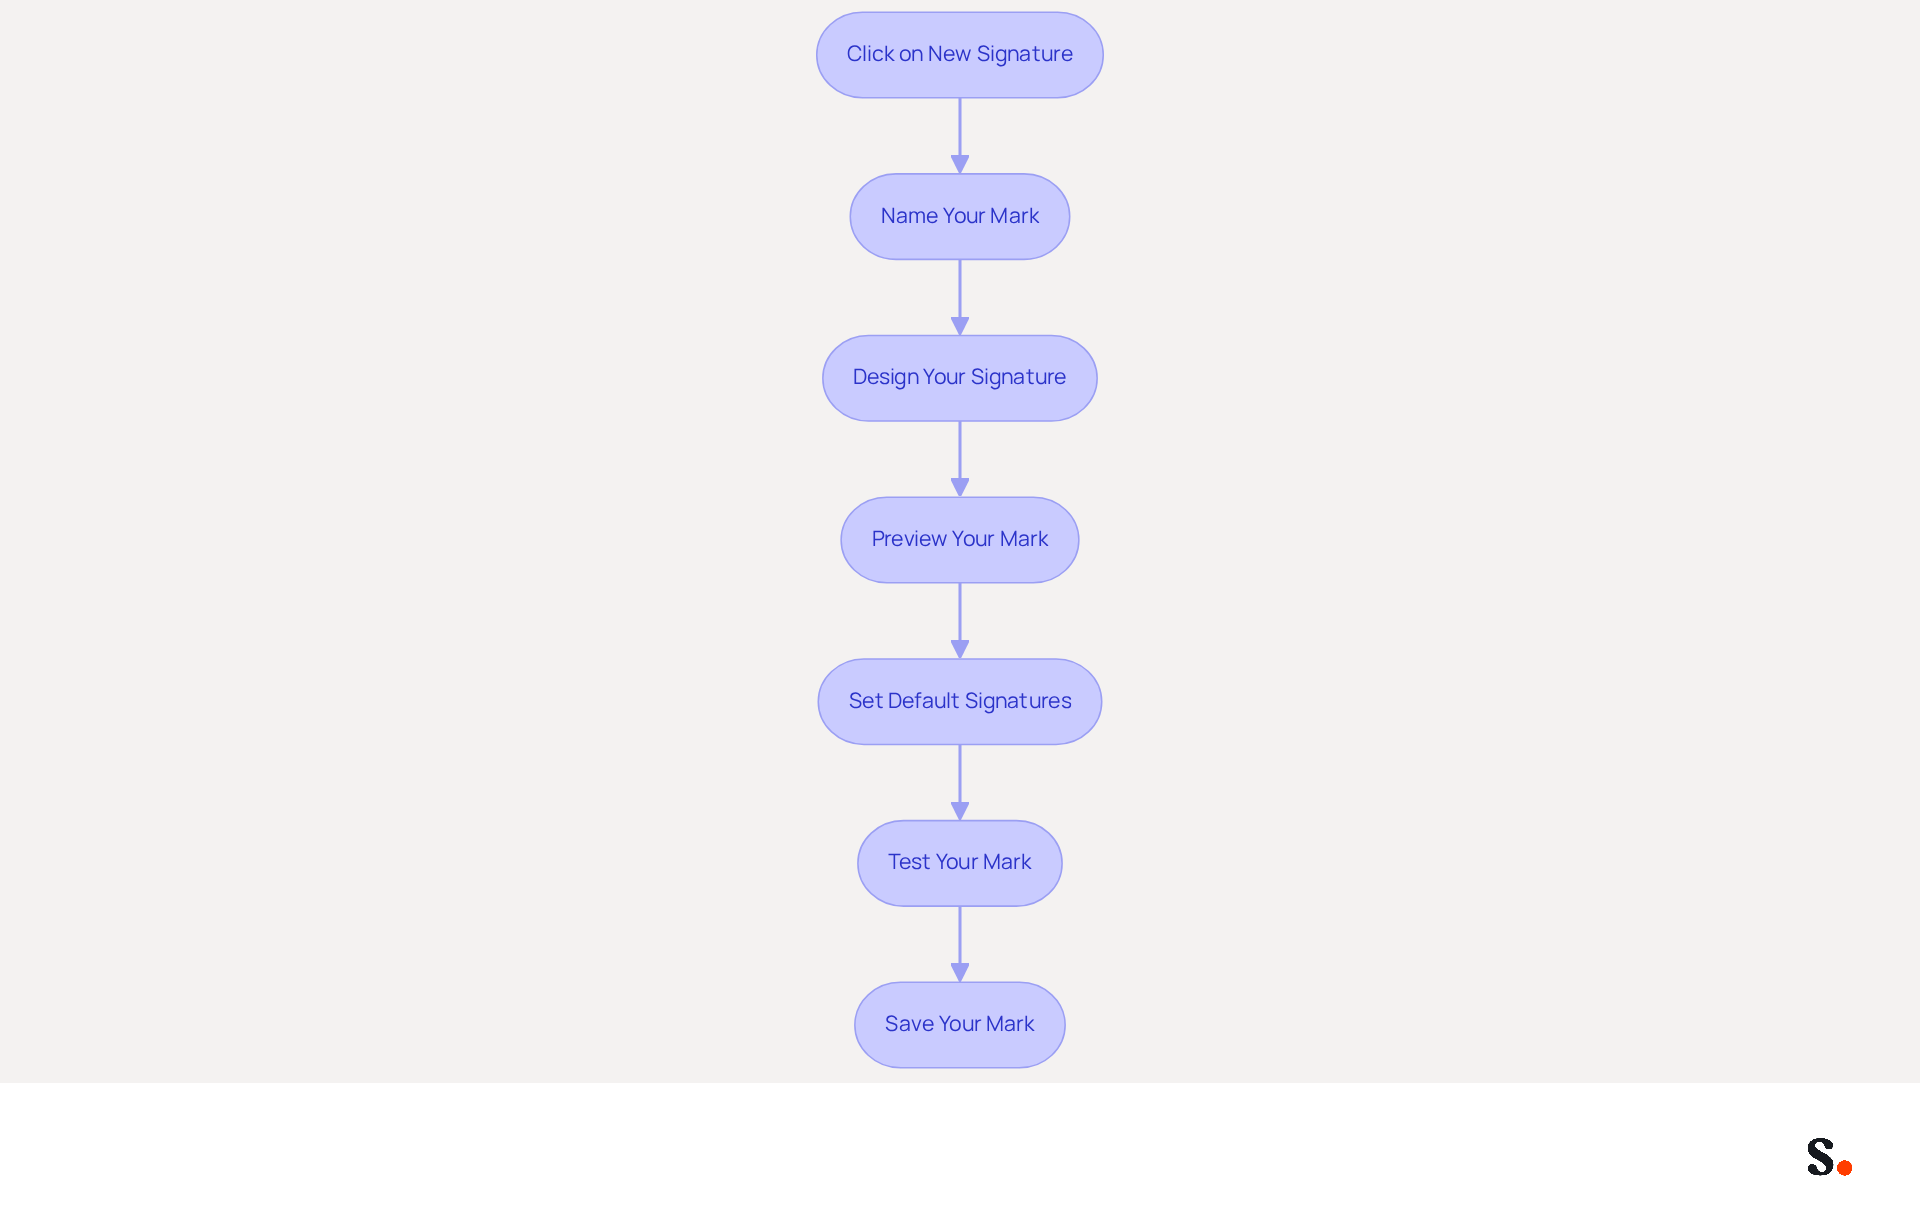
- Click on New Signature: In the Signatures settings, click on the 'New' button to begin the creation of a new label.
- Name Your Mark: Enter a distinct name for your mark to easily identify it later.
- Design Your Signature: In the editing box, you can:
- Add Text: Type your name, title, and contact information.
- Format Text: Use the formatting options to adjust the font, size, color, and style (bold, italic, etc.).
- Insert Images: Click on the image icon to add your company logo or any other relevant images, ensuring the logo file is under 50KB for optimal delivery.
- Add Links: Highlight text or images and click on the link icon to incorporate hyperlinks to your website or social media profiles.
- Preview Your Mark: Utilize the preview pane to see how your mark will appear in messages, ensuring it maintains a professional look.
- Set Default Signatures: Keep in mind that you can establish various default sign-offs for new messages compared to replies, which aids in managing your communications effectively.
- Test Your Mark: After saving, send test messages to non-Microsoft addresses to check how your mark renders across different messaging clients, ensuring compatibility and professionalism.
- Save Your Mark: Once satisfied with your design, click 'Save' to store your mark.
By following these steps on how to automatically add signature in Outlook 365, you create a professional and tailored digital identifier that enhances your brand's visibility. With Scribe, your email identifiers are automatically synchronized with your business phone system, guaranteeing that any updates made in Aircall are reflected in real-time. This automated management not only saves time by auto-filling names but also ensures your brand stays consistent across all communications. Additionally, Scribe is SOC 2 Type II compliant, ensuring that your data is handled securely. Studies indicate that a well-crafted email signature can significantly boost engagement rates, making it a valuable asset for marketing and communication.
Set Up Automatic Signature in Outlook 365
Setting up your email signature in Outlook 365 requires careful attention to detail to ensure automatic inclusion:
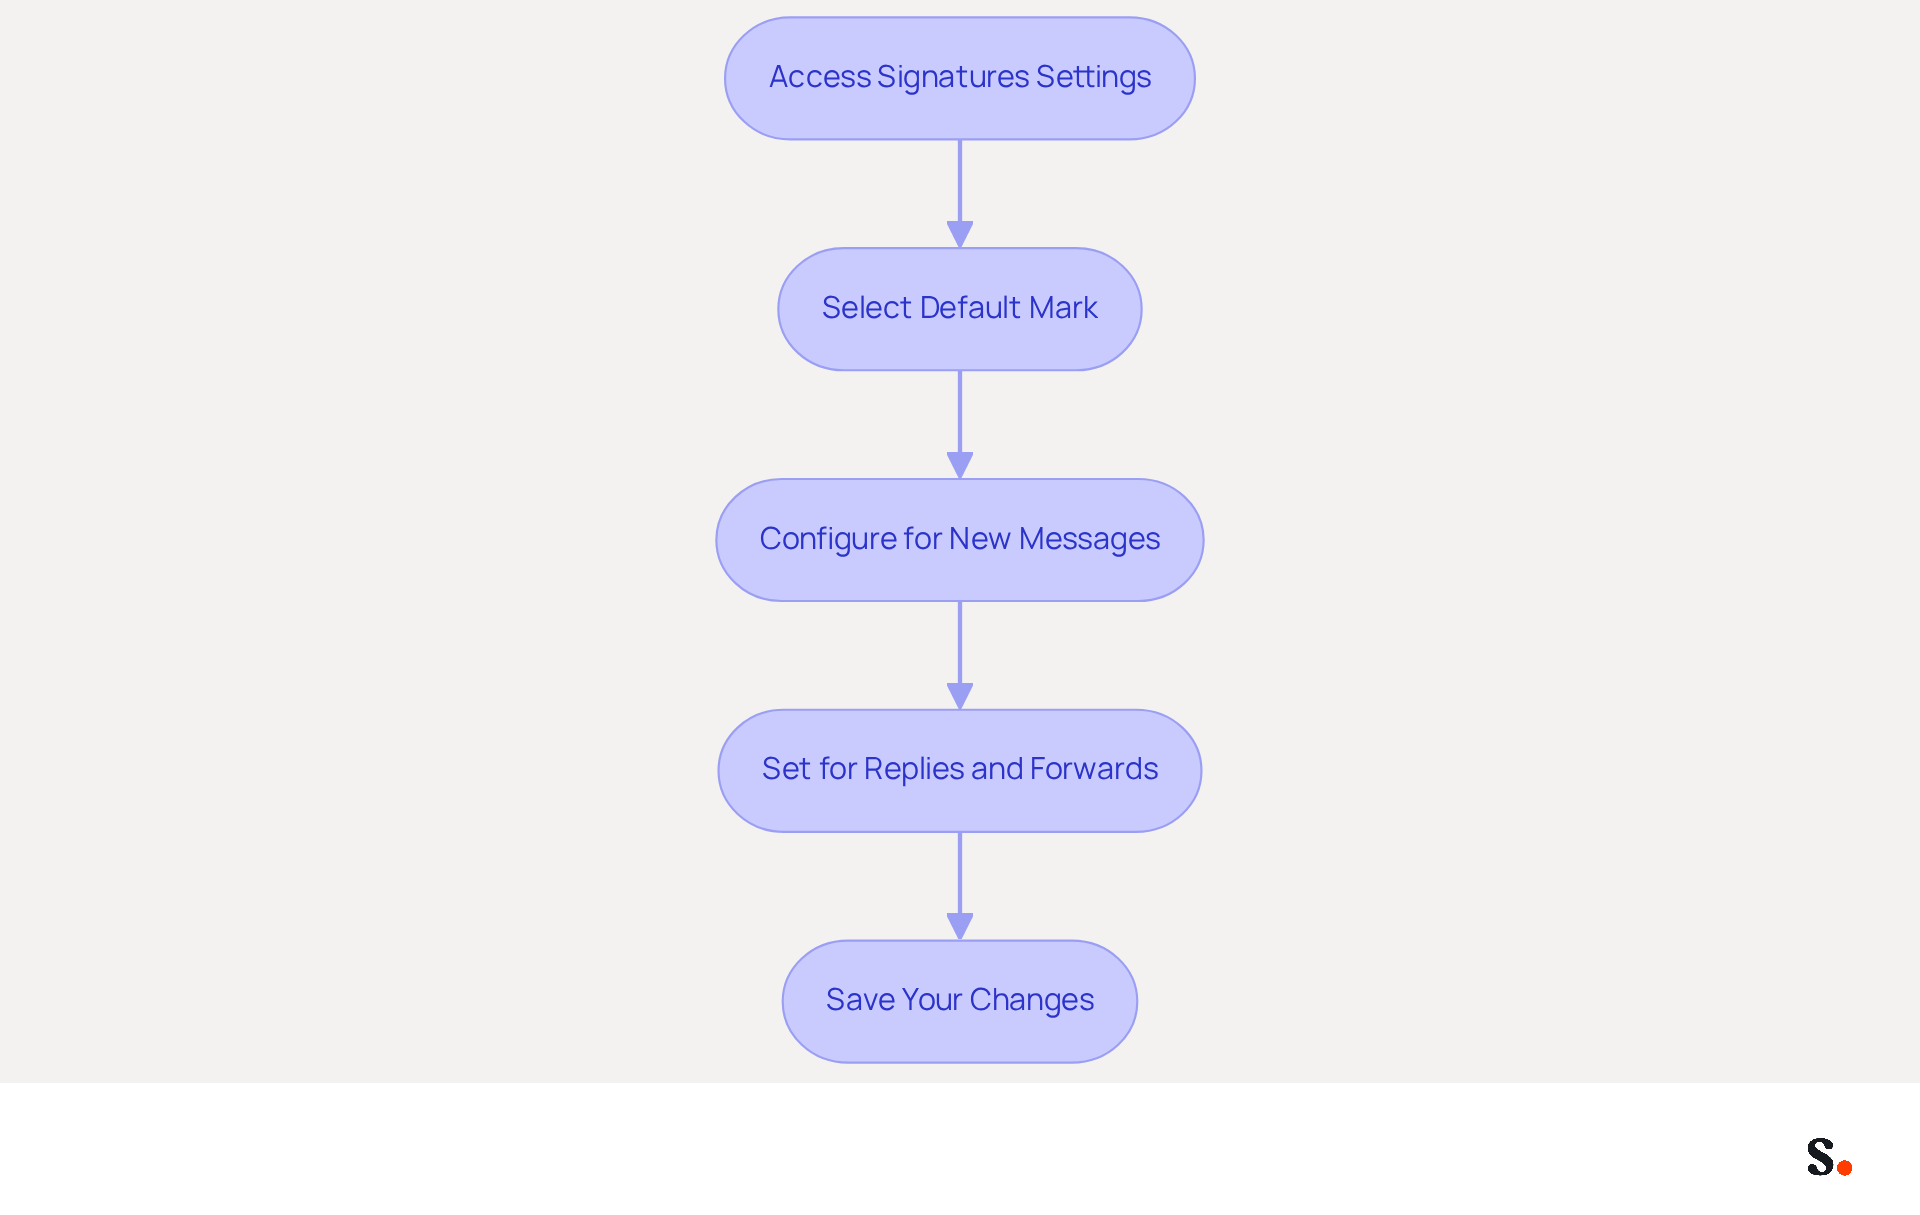
- Access Signatures Settings: Begin by navigating to the Signatures settings after creating your desired design.
- Select Default Mark: In the 'Choose default mark' section, select your account from the dropdown menu to ensure the mark is linked to the correct account.
- Configure for New Messages: In the 'New messages' dropdown, select the identifier you just created. This action ensures that your name will automatically show up in all new messages.
- Set for Replies and Forwards: If you wish for the sign-off to also appear in replies and forwards, choose the same sign-off or a different one from the 'Replies/forwards' dropdown.
- Save Your Changes: Finally, click 'Save' to apply your settings.
By following these steps, you will learn how to automatically add signature in Outlook 365, ensuring your email footer is included in all outgoing emails. This promotes brand consistency and professionalism in your communications. Additionally, with Scribe's seamless integration with tools like Calendly and Aircall, any modifications made in those platforms will automatically sync with your Scribe branding, ensuring that your identity remains consistent across all communications.
Expert Advice: Many users overlook the necessity of setting their personal mark as the default, leading to confusion. Kal-D, a Microsoft External Staff Moderator, points out that in Classic Microsoft email for Windows, creating a personal mark by itself isn’t sufficient; you also need to set it as the default for new messages. This consistency in branding is crucial, and Scribe's SOC 2 Type II compliance ensures secure data handling throughout the process.
Case Studies:
- Inserting a Signature Manually in Classic Outlook demonstrates that users can manually select their desired signature from a menu, providing flexibility in email personalization.
- Creating an Email Footer in Scribe on the Web illustrates how users can format their footer and choose whether to apply it automatically or manually, enhancing user control over communications.
Troubleshoot Common Signature Issues in Outlook 365
Experiencing issues with how to automatically add signature in Outlook 365 can disrupt your professional communication and branding efforts. Consider the following common problems and their solutions:
-
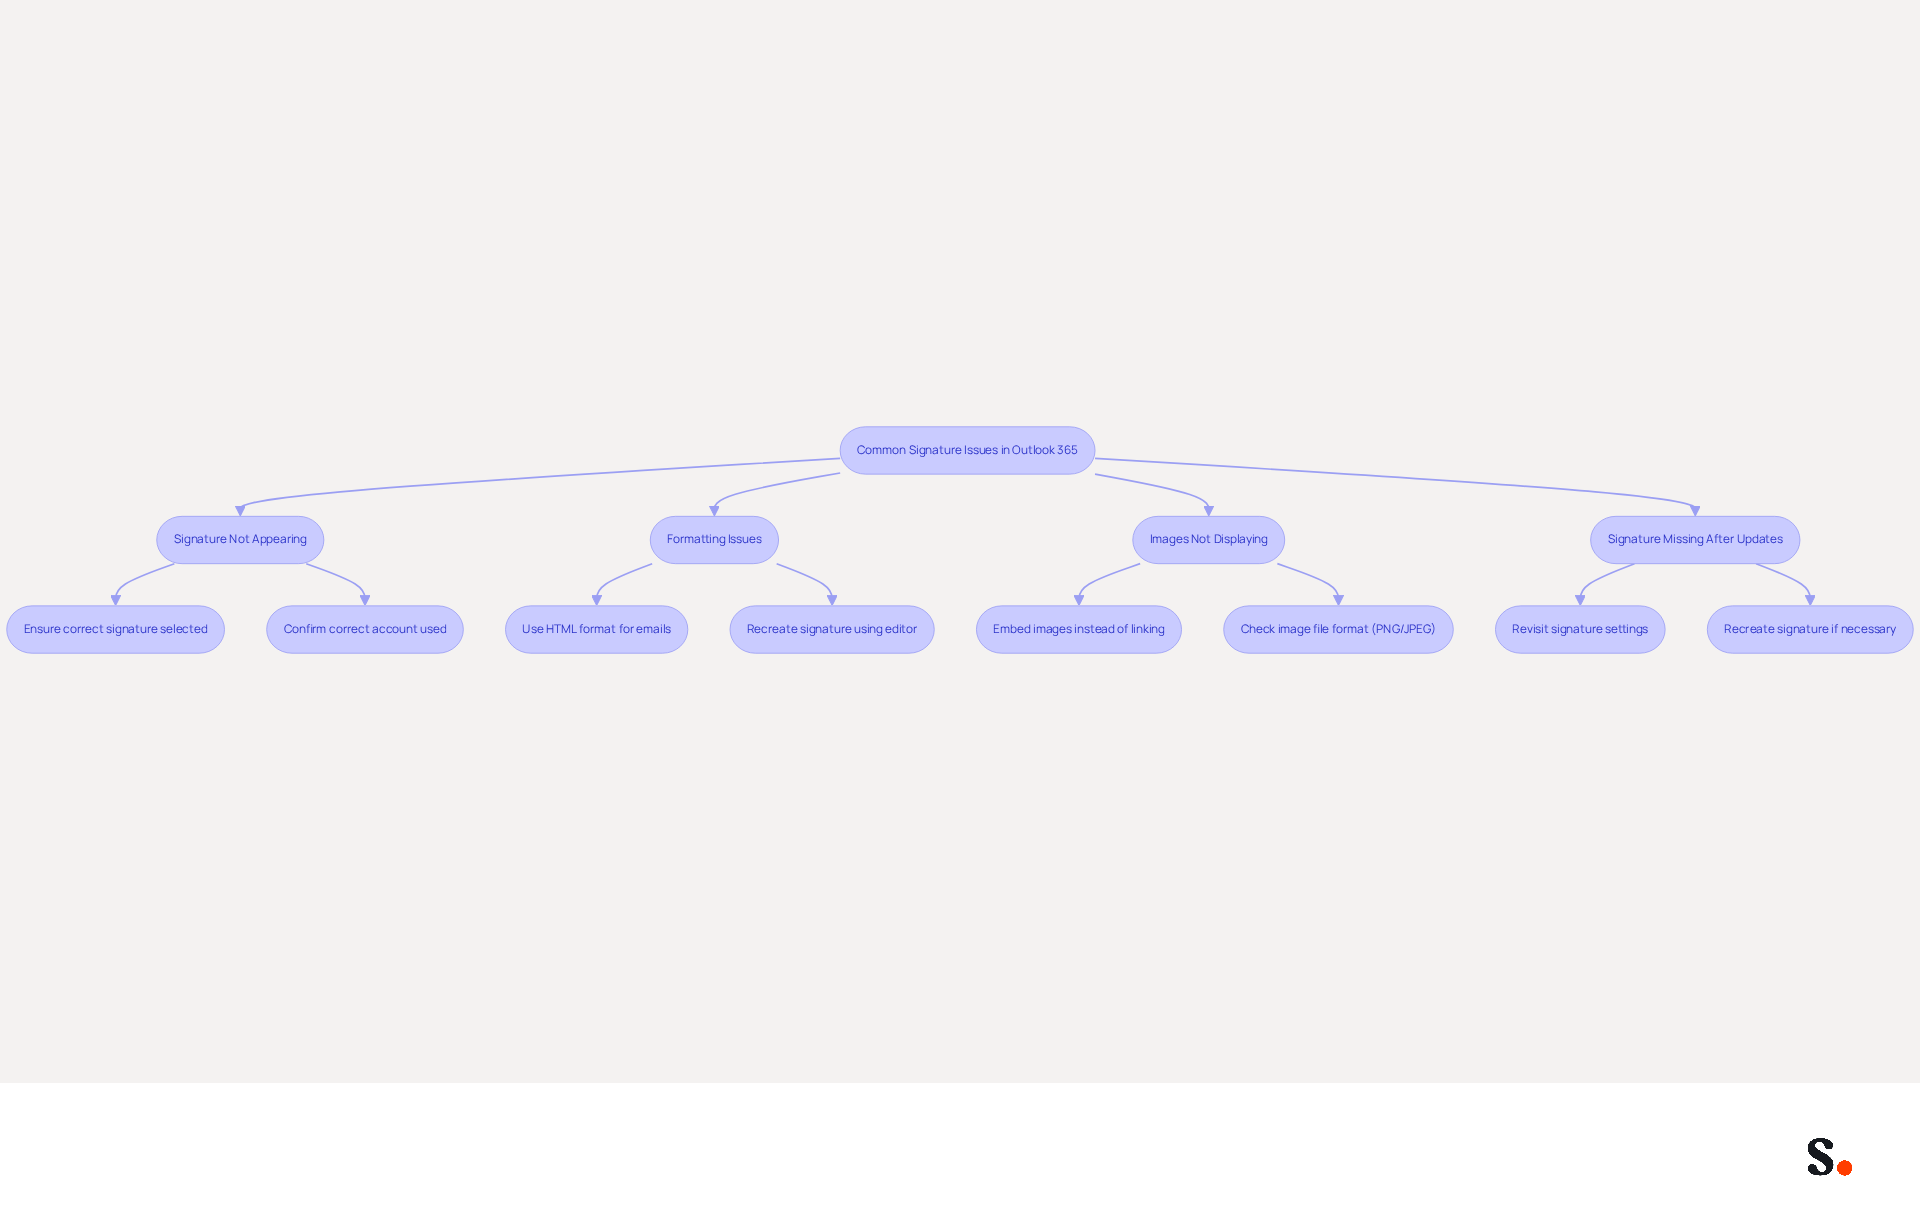
Signature Not Appearing: If your signature does not appear in new emails, follow these steps to troubleshoot the issue:
- Ensure you have selected the correct signature in the default signature settings.
- Confirm that you are using the correct account if you have multiple accounts.
-
Formatting Issues: If your signature looks different than expected:
- Confirm that you are using HTML format for your emails, as plain text may strip formatting.
- Recreate the autograph using the editor to ensure proper formatting.
-
Images Not Displaying: If images in your signature are not showing:
- Make sure to embed your images instead of linking them from an external source to avoid display issues.
- Check the image file format; use common formats like PNG or JPEG to avoid compatibility issues.
-
Signature Missing After Updates: If your signature disappears after an Outlook update:
- Revisit the signature settings to ensure your signature is still saved.
- If necessary, recreate the mark to restore its functionality.
By following these troubleshooting tips, you can effectively resolve common issues and understand how to automatically add signature in Outlook 365 to ensure your message footer functions as intended. Research shows that many common email signature issues can be traced back to specific configuration errors, emphasizing the importance of proper setup. Furthermore, organizations utilizing centralized management solutions experience a notable decrease in related issues, improving overall communication efficiency. With Scribe's integration with Google Workspace, any changes made to your team’s information are automatically reflected in your email signatures, saving time and ensuring brand consistency across all communications. Addressing these common issues not only enhances your email communication but also reinforces your brand's professionalism and reliability.
Conclusion
Mastering the process of adding an email signature in Outlook 365 is crucial for effective professional communication. By automating this task, organizations can ensure that every email reflects their identity and values, building trust and engagement with recipients.
Throughout this guide, key steps have been outlined, from accessing signature settings to creating and customizing your signature. A well-designed email signature is essential for effective branding and communication, serving not only as a branding tool but also as a means to provide essential contact information and promote marketing initiatives. Utilizing tools like Scribe can streamline this process, ensuring that updates are automatically synchronized and that your branding remains consistent across all communications.
In conclusion, while setting up email signatures may seem tedious, the benefits far outweigh the initial effort. Embracing automation and best practices will not only enhance your communication efficiency but also solidify your brand's identity in every email. Take action today to implement these strategies and elevate your email communications to new heights.
Frequently Asked Questions
Why are email signatures important in Outlook 365?
Email signatures enhance professional image and brand promotion, provide essential information, act as a marketing tool, and establish professionalism. They help maintain brand consistency and improve communication credibility.
How does Scribe help with email signatures?
Scribe automatically synchronizes digital identifiers with your business phone system, auto-fills teammates' identifiers, and manages digital signatures to improve brand consistency and marketing effectiveness.
What essential information should be included in an email signature?
An email signature typically includes your name, title, contact information, and links to social media or your website, facilitating easy connections for recipients.
How can email signatures act as a marketing tool?
By incorporating promotional banners or calls to action, email signatures can transform messages into marketing opportunities, potentially increasing engagement and lead generation.
What are the steps to access signature settings in Outlook 365?
To access signature settings, open the email client, click on the gear icon for settings, select 'View all Outlook settings', navigate to 'Mail', choose 'Compose and reply', and then click on 'Signatures'.
What benefits do organizations experience by using Scribe for email signatures?
Organizations using Scribe report enhanced branding, professionalism, and improved marketing effectiveness, with messages featuring branded elements experiencing a 22% rise in response rates.
What is required to enable synchronization with Google Workspace using Scribe?
To enable synchronization, you must grant permission to Scribe to connect with your provider, and you need to be a Super Admin to provide these permissions.
How does Scribe ensure data security while managing email signatures?
Scribe is SOC 2 Type II compliant, ensuring the safety of your data while improving message management and branding.
List of Sources
- Understand the Importance of Email Signatures in Outlook 365
- Why Email Signatures Must Be In Your 2026 Marketing Plan | Rocketseed (https://rocketseed.com/blog/2026-marketing-plan-email-signatures)
- Email Signature Branding: Consistency and Impact | Crossware365 (https://crossware365.com/blog/mastering-email-signature-branding-market-presence)
- Best Practices for Email Signatures for Business Owners (https://scribe-mail.com/en-US/blog/best-practices-for-email-signatures-for-business-owners)
- Research Recap: Branded Email Signatures Increase Company Recognition, Trust - Demand Gen Report (https://demandgenreport.com/industry-news/research-recap-branded-email-signatures-increase-company-recognition-trust/47252)
- The impact of email signatures on your branding (https://signitic.com/en/resources/the-impact-of-email-signatures-on-your-branding)
- Access Signature Settings in Outlook 365
- Update Your Signature in Outlook 365: A Step-by-Step Guide (https://scribe-mail.com/en-US/blog/update-your-signature-in-outlook-365-a-step-by-step-guide)
- What's new in new Outlook for Windows | Microsoft Support (https://support.microsoft.com/en-us/outlook/getstarted/what-s-new-in-new-outlook-for-windows)
- Email Signatures vanishing - New Outlook | Microsoft Community Hub (https://techcommunity.microsoft.com/discussions/outlookgeneral/email-signatures-vanishing---new-outlook/4418809)
- Polishing Office 365 Email Signature: Setup Guide (https://unifi.atlaspackaging.co.uk/atlaspackaging-news/office-365-email-signature-setup-guide-1767647699)
- Generic Staff statistics on 365 usage - - Microsoft Q&A (https://learn.microsoft.com/en-us/answers/questions/4730932/generic-staff-statistics-on-365-usage)
- Create and Customize Your Email Signature
- Create an Email Signature in Microsoft 365 | Help - Illinois State (https://help.illinoisstate.edu/display/Technology/Create+an+Email+Signature+in+Microsoft+365)
- How To Add An Email Signature in Outlook (2026) (https://hubspot.com/email-signature-generator/add-signature-outlook)
- How to Update Your Outlook Signature (2026) (https://getinboxzero.com/blog/post/how-to-update-signature-in-outlook)
- How to add and change an email signature in Outlook | Microsoft Support (https://support.microsoft.com/en-us/outlook/mail/how-to-add-and-change-an-email-signature-in-outlook)
- Create a signature and automatic reply | Microsoft Support (https://support.microsoft.com/en-us/outlook/officeweb/create-a-signature-and-automatic-reply)
- Set Up Automatic Signature in Outlook 365
- How to Setup an Automatic Email Signature in Microsoft Outlook (https://calszone.com/2016/10/how-to-setup-automatic-signatures-in-outlook)
- Outlook auto signature - Microsoft Q&A (https://learn.microsoft.com/en-us/answers/questions/5815084/outlook-auto-signature)
- Create a signature and automatic reply | Microsoft Support (https://support.microsoft.com/en-us/outlook/officeweb/create-a-signature-and-automatic-reply)
- How to add and change an email signature in Outlook | Microsoft Support (https://support.microsoft.com/en-us/outlook/mail/how-to-add-and-change-an-email-signature-in-outlook)
- Troubleshoot Common Signature Issues in Outlook 365
- Outlook Signature Disappears? 6 Common Problems + Fixes (https://conbool.com/blog/outlook-signature-disappears-fixes-problems)
- Outlook Signature Not Working in Office 365: Causes & Fixes (https://exclaimer.com/email-signature-handbook/outlook-signature-not-working-in-office-365)
- How to solve problems with email signatures in Microsoft 365? (https://mail-signatures.com/articles/problems-email-signatures-office-365)
Get started with Scribe
Create your signature in minutes
Free 14-day trial — no credit card.